
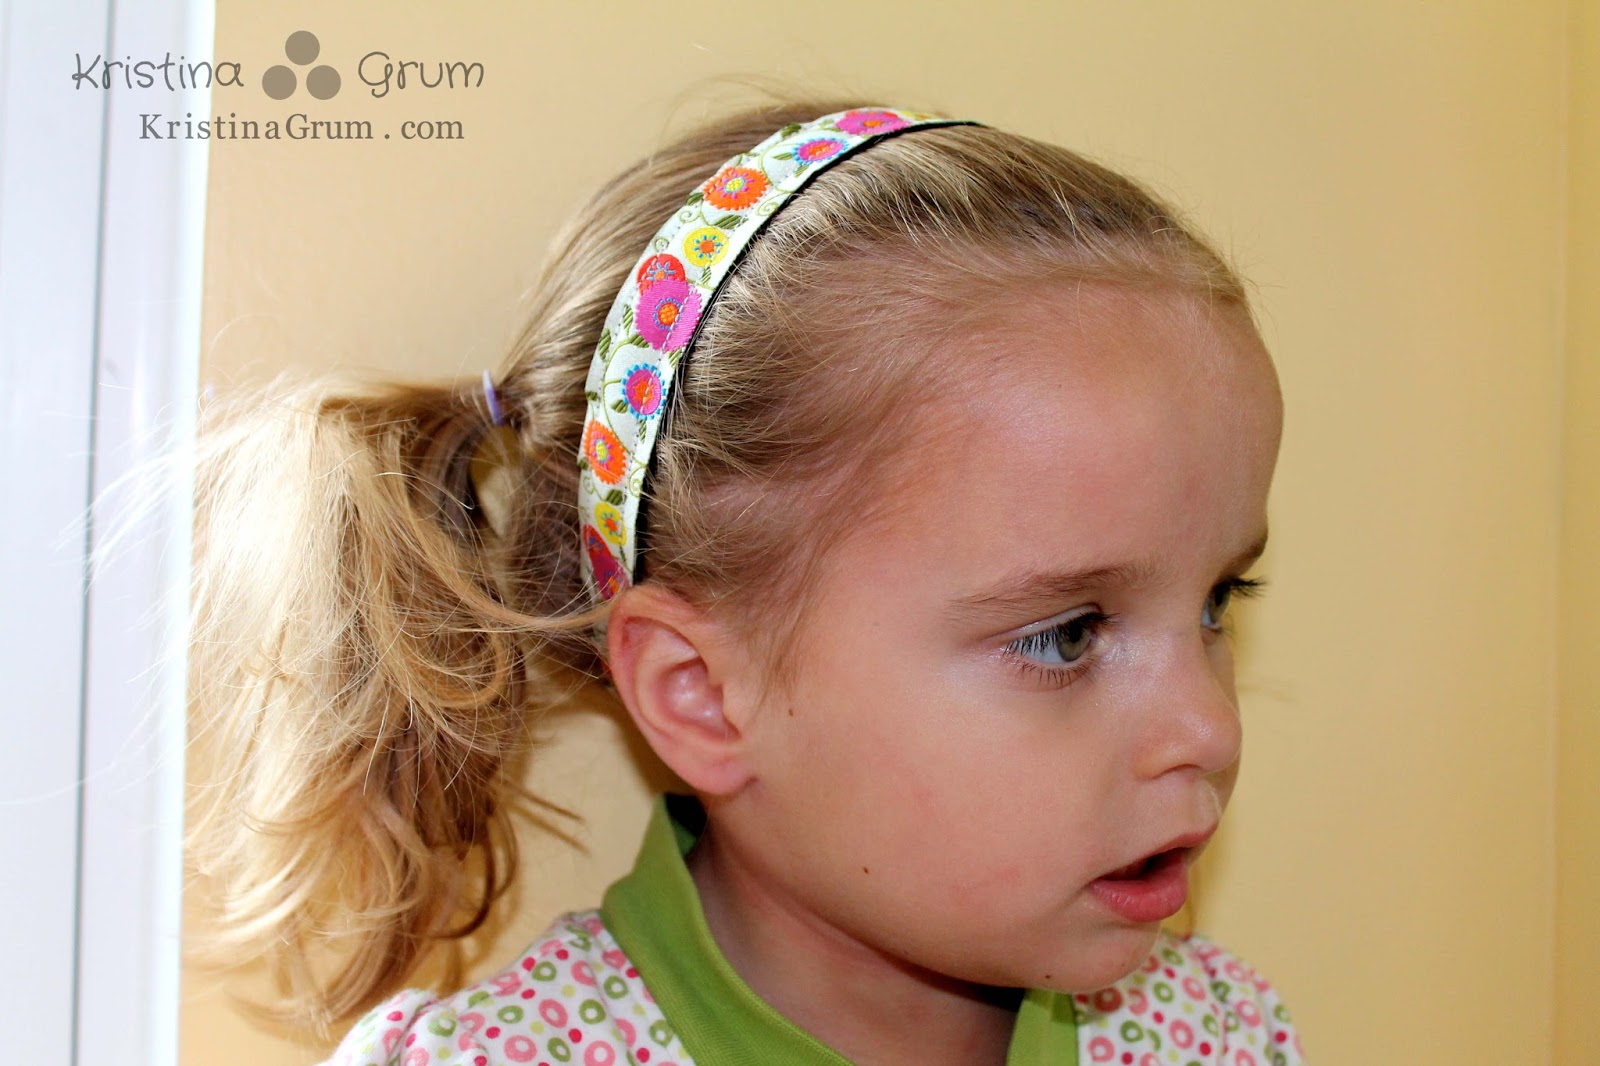
Back in May when I ran the Broad Street Run, I saw no-slip headbands at the race expo. I loved the idea of keep the hair out of my face and was hoping they’d also keep the sweat out too. I wanted to buy a few but didn’t. They were pricey for me, considering I could sew and make my own.
I’ve made a few now and absolutely love them. The girls especially love to wear them underneath their bike helmets to keep their hair out of their face. Because the underneath part is velvet, they don’t slip off. They work especially well on fine hair.
So here’s what you need to make your very own:
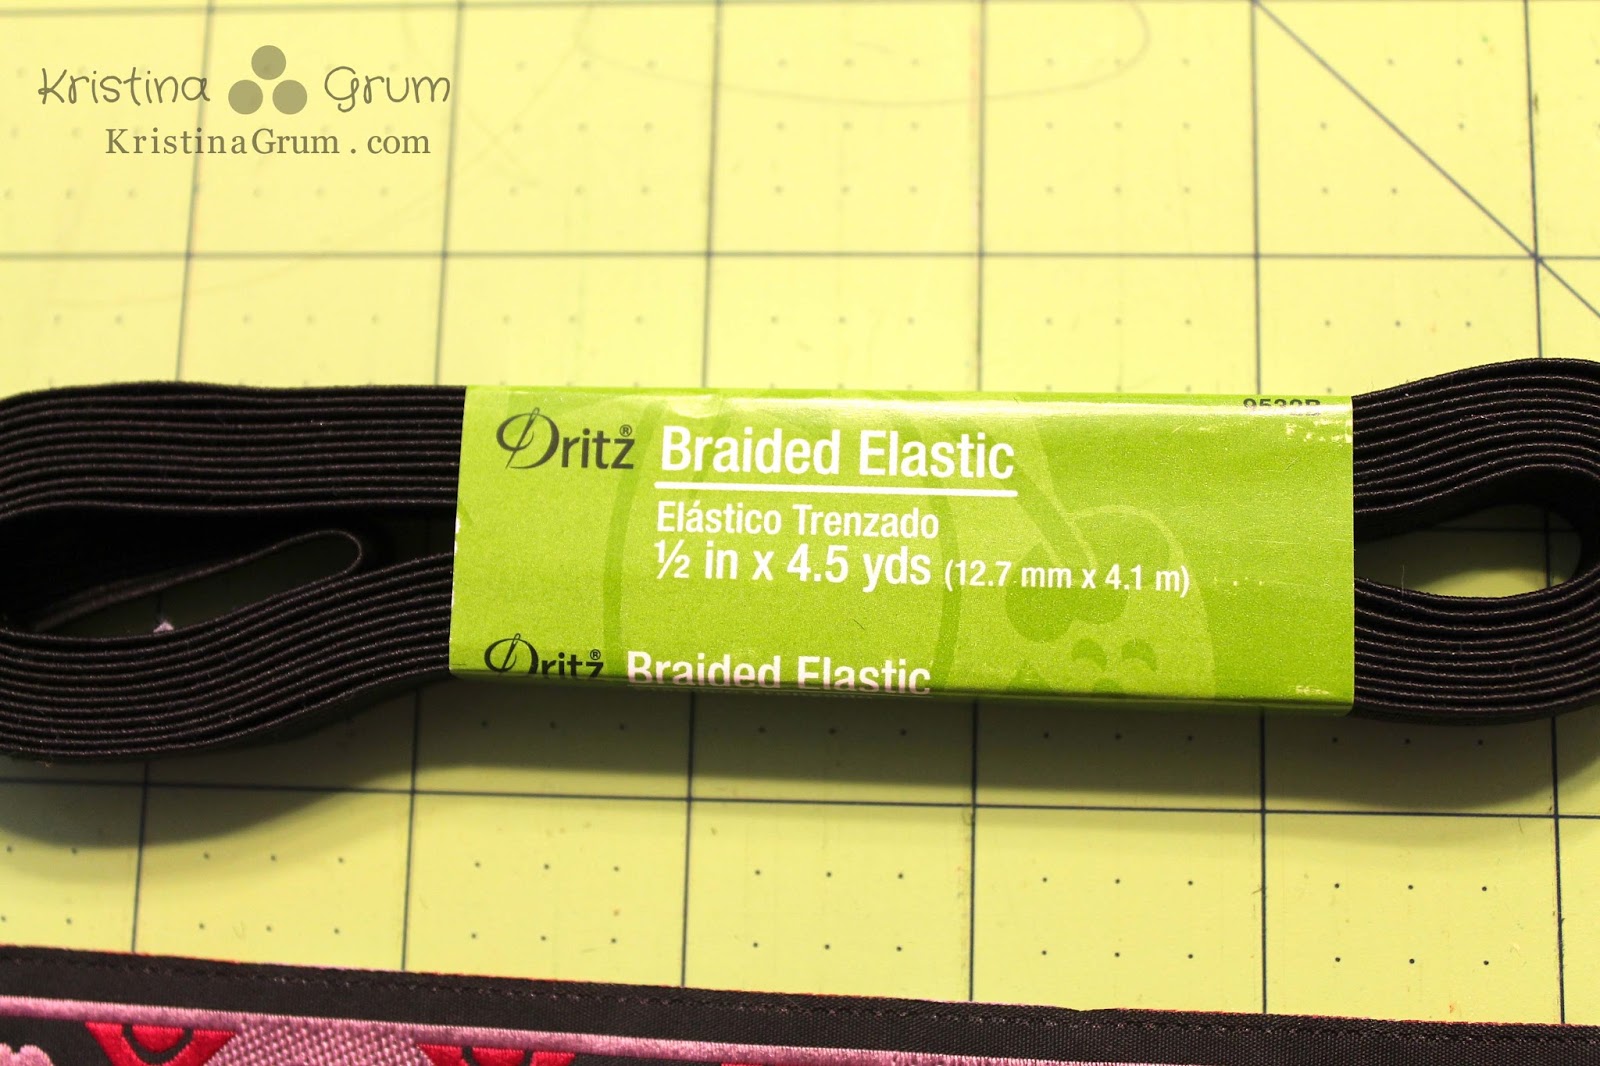
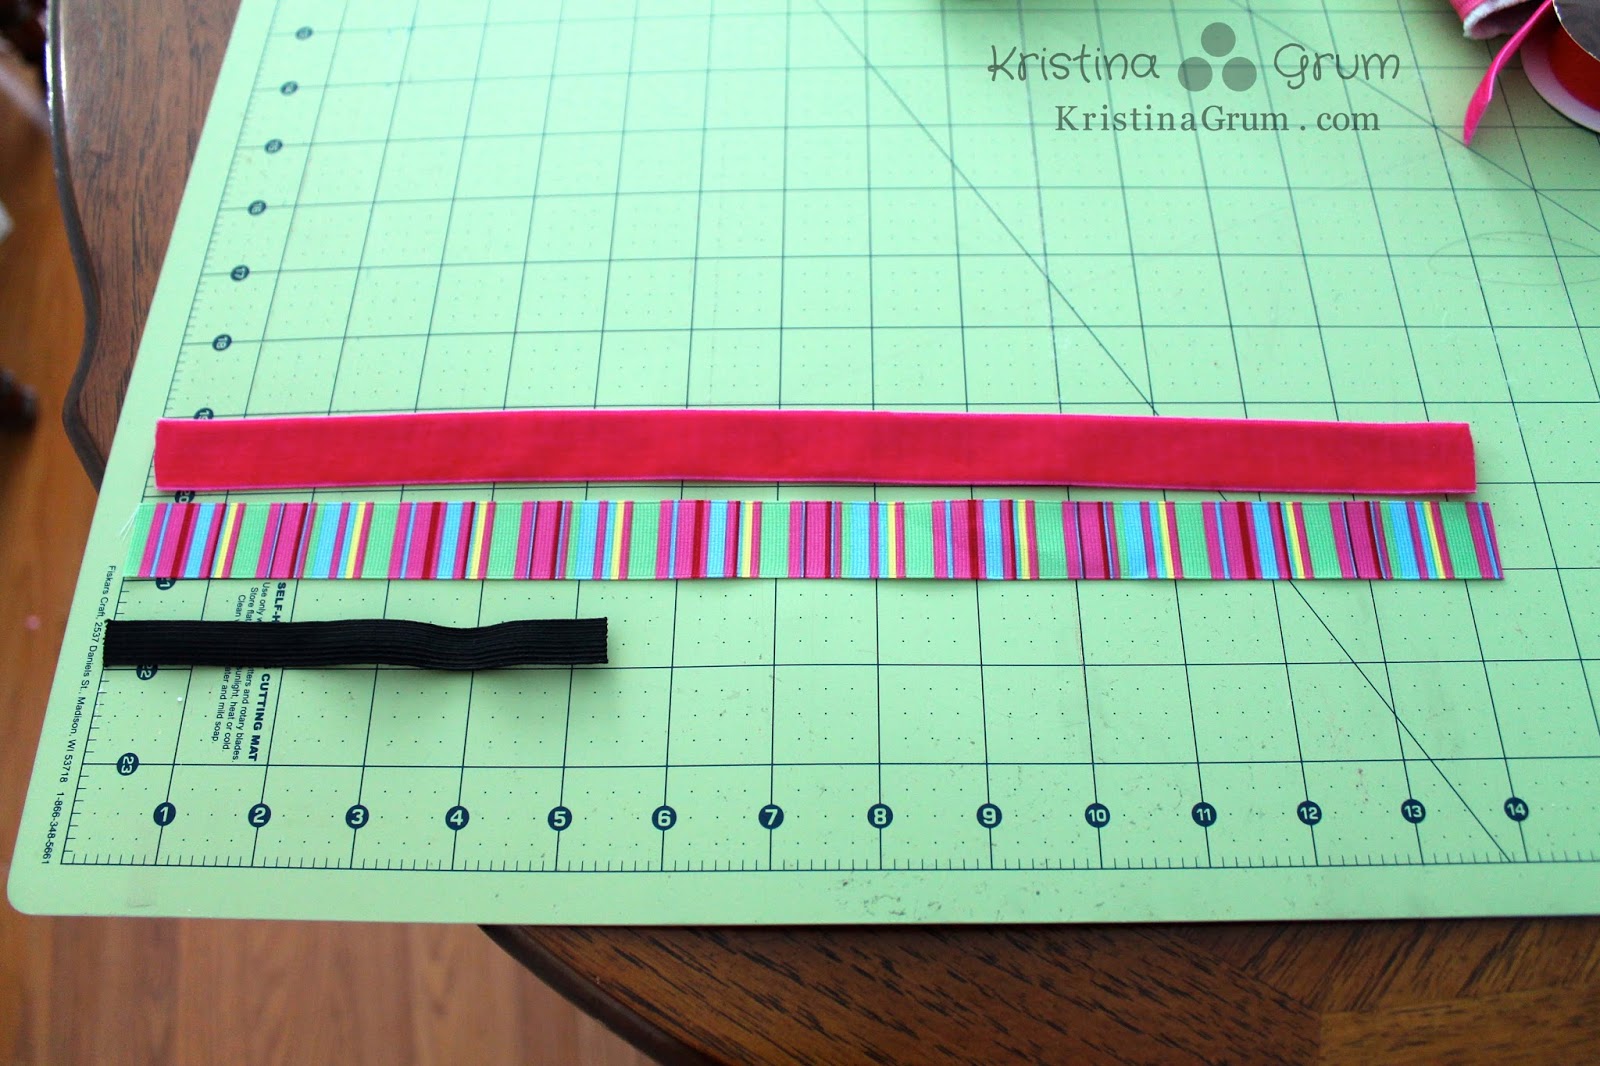
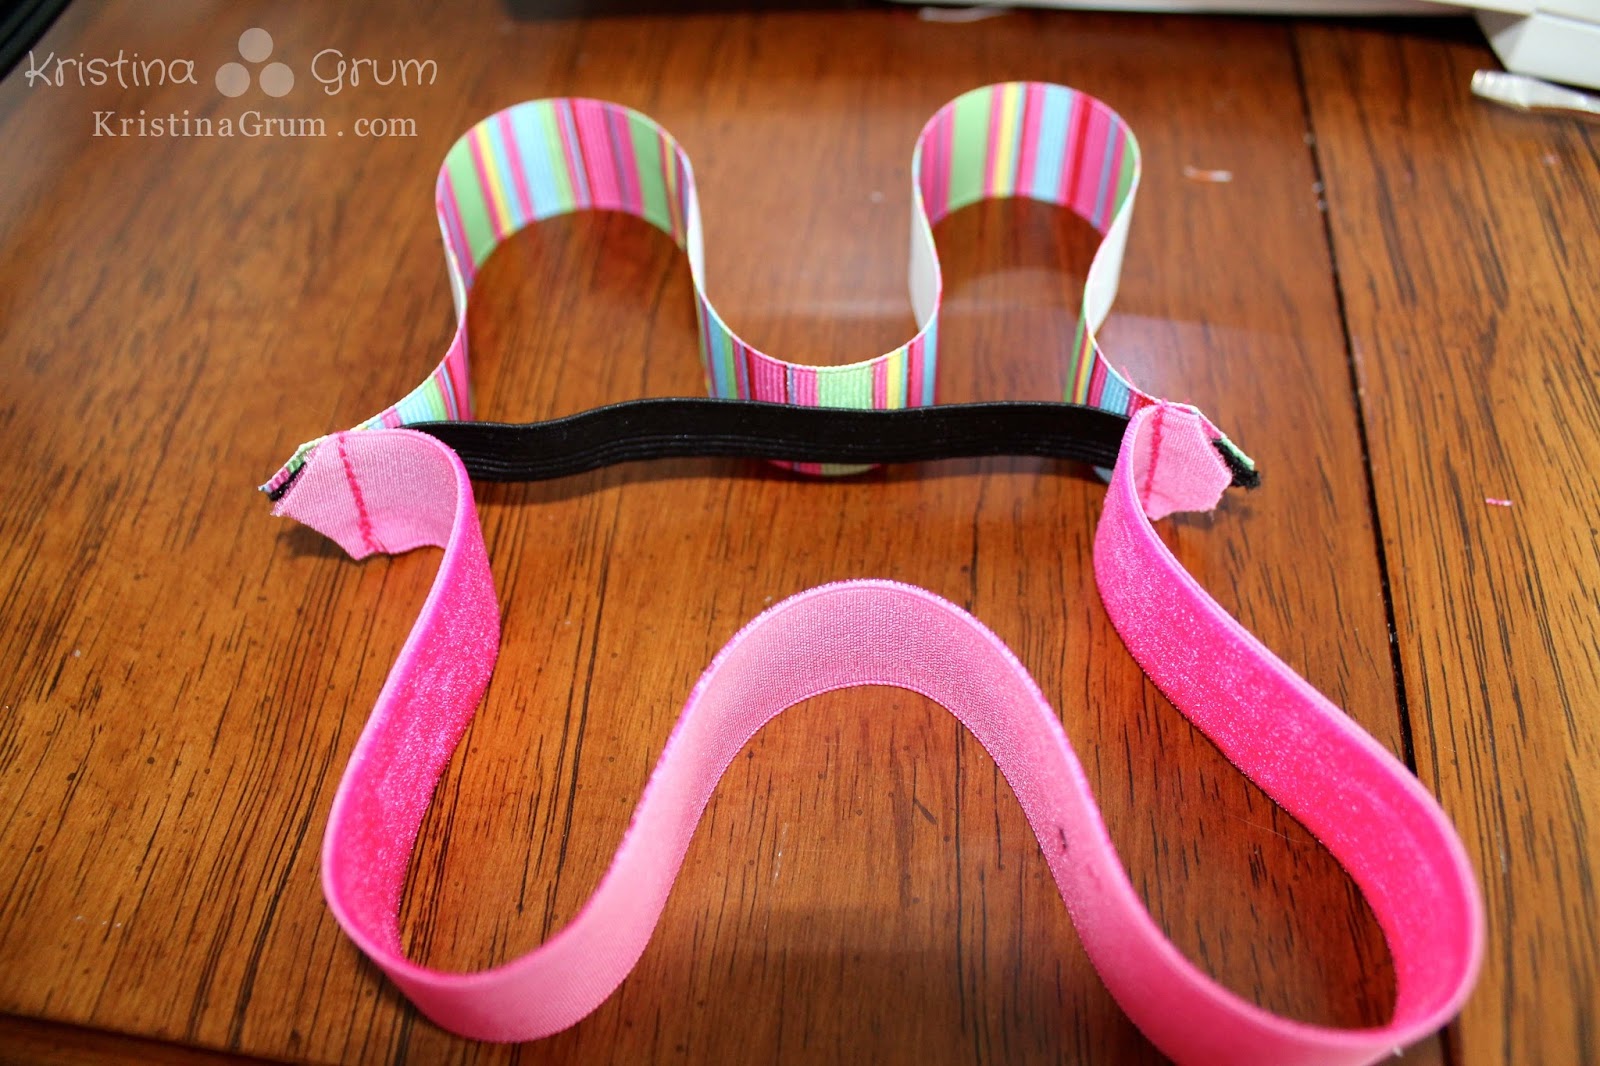
- 1/2″ elastic to match your ribbon (I chose black because I was afraid white would get too dirty.
- Jacquard ribbon or regular grosgrain ribbon (Jacquard looks nicer because it’s woven but it’s also harder to find in stores. I used grosgrain for this tutorial because I always have tons of it around.)
- velvet ribbon
The grosgrain ribbon (or jacquard) will need to be the same length as the velvet ribbon. I typically use a width of 5/8″ for mine.
Measurements
toddler/ preschooler: 14 inches, elastic = 5.5 or 6 inches
adult: ribbon = 18 inches, elastic = 5.5 inches
Since our big girls are 5 & 6 those are the only kid measurements I have.
If you need a different size, here’s how I got them: I took the ribbon and measure if from about an inch below AND behind my ears and across my head. Then I cut the ribbon. I took the elastic and held it with to the ribbon and extended it enough behind my head to see how much I would need to reach the other side. This is tricky and resulted in me dropping them a few times. If you are more agile than me, this may be no problem for you. If you aren’t, you can always ask someone to hold one end for you. Remember, you want the elastic to have to stretch or the headband won’t stay on.
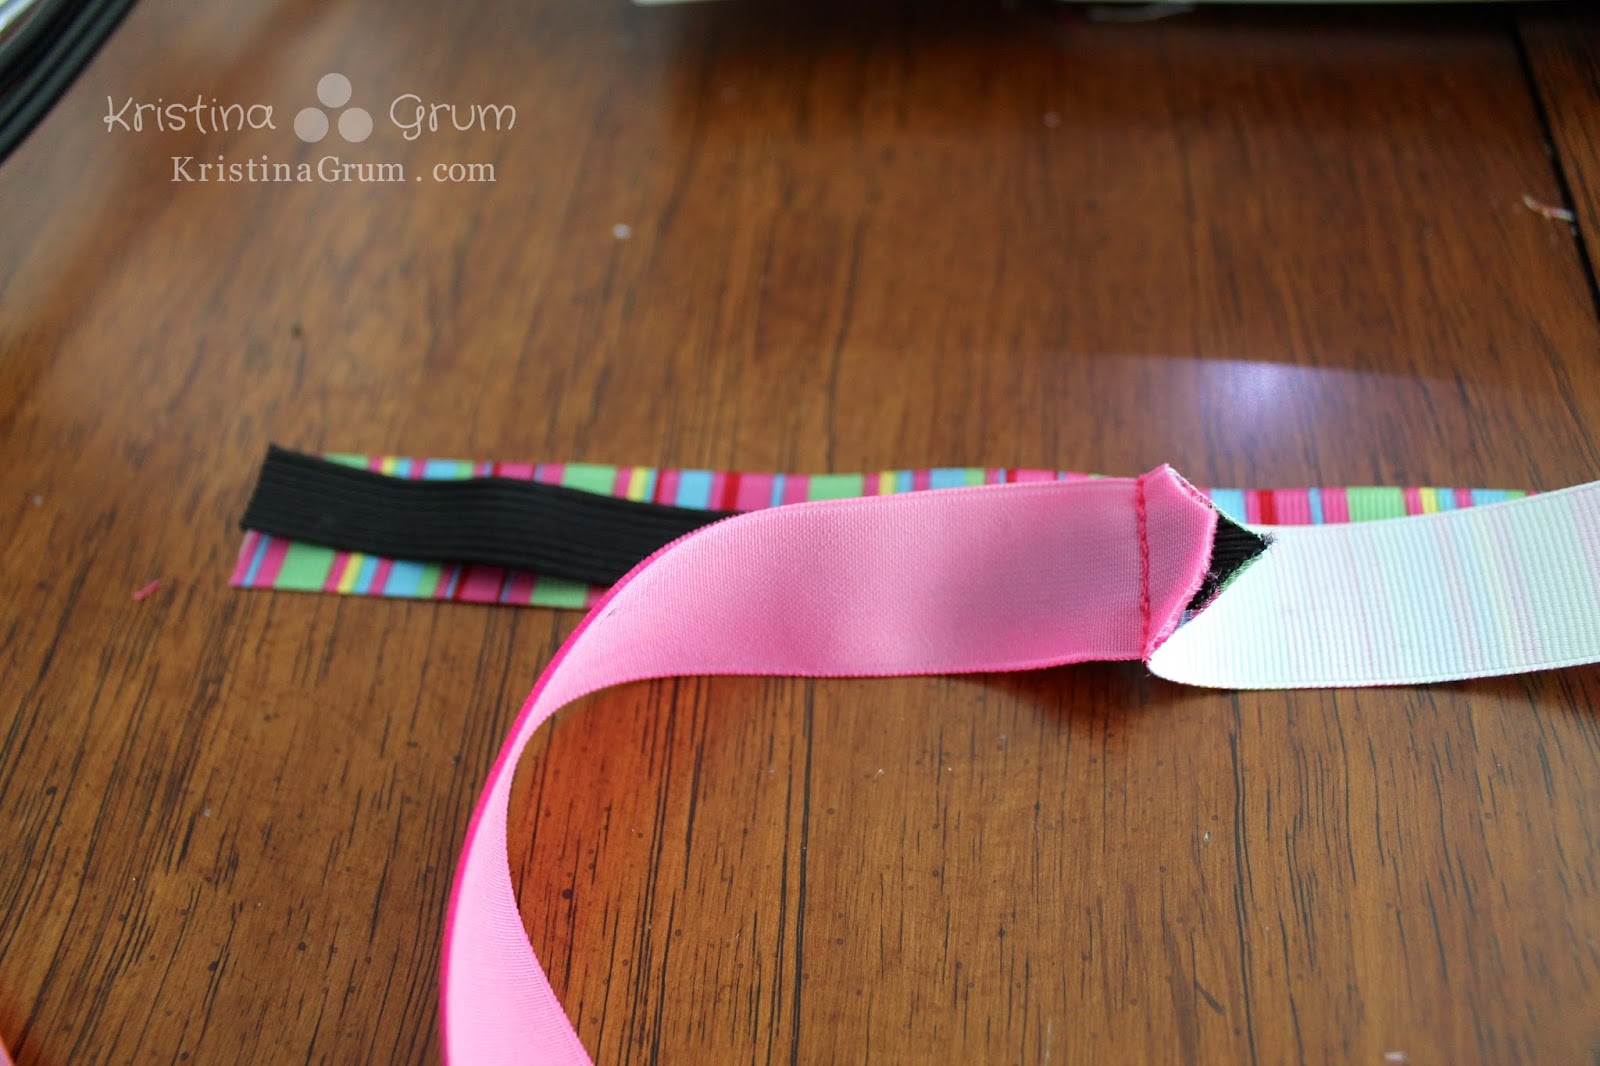
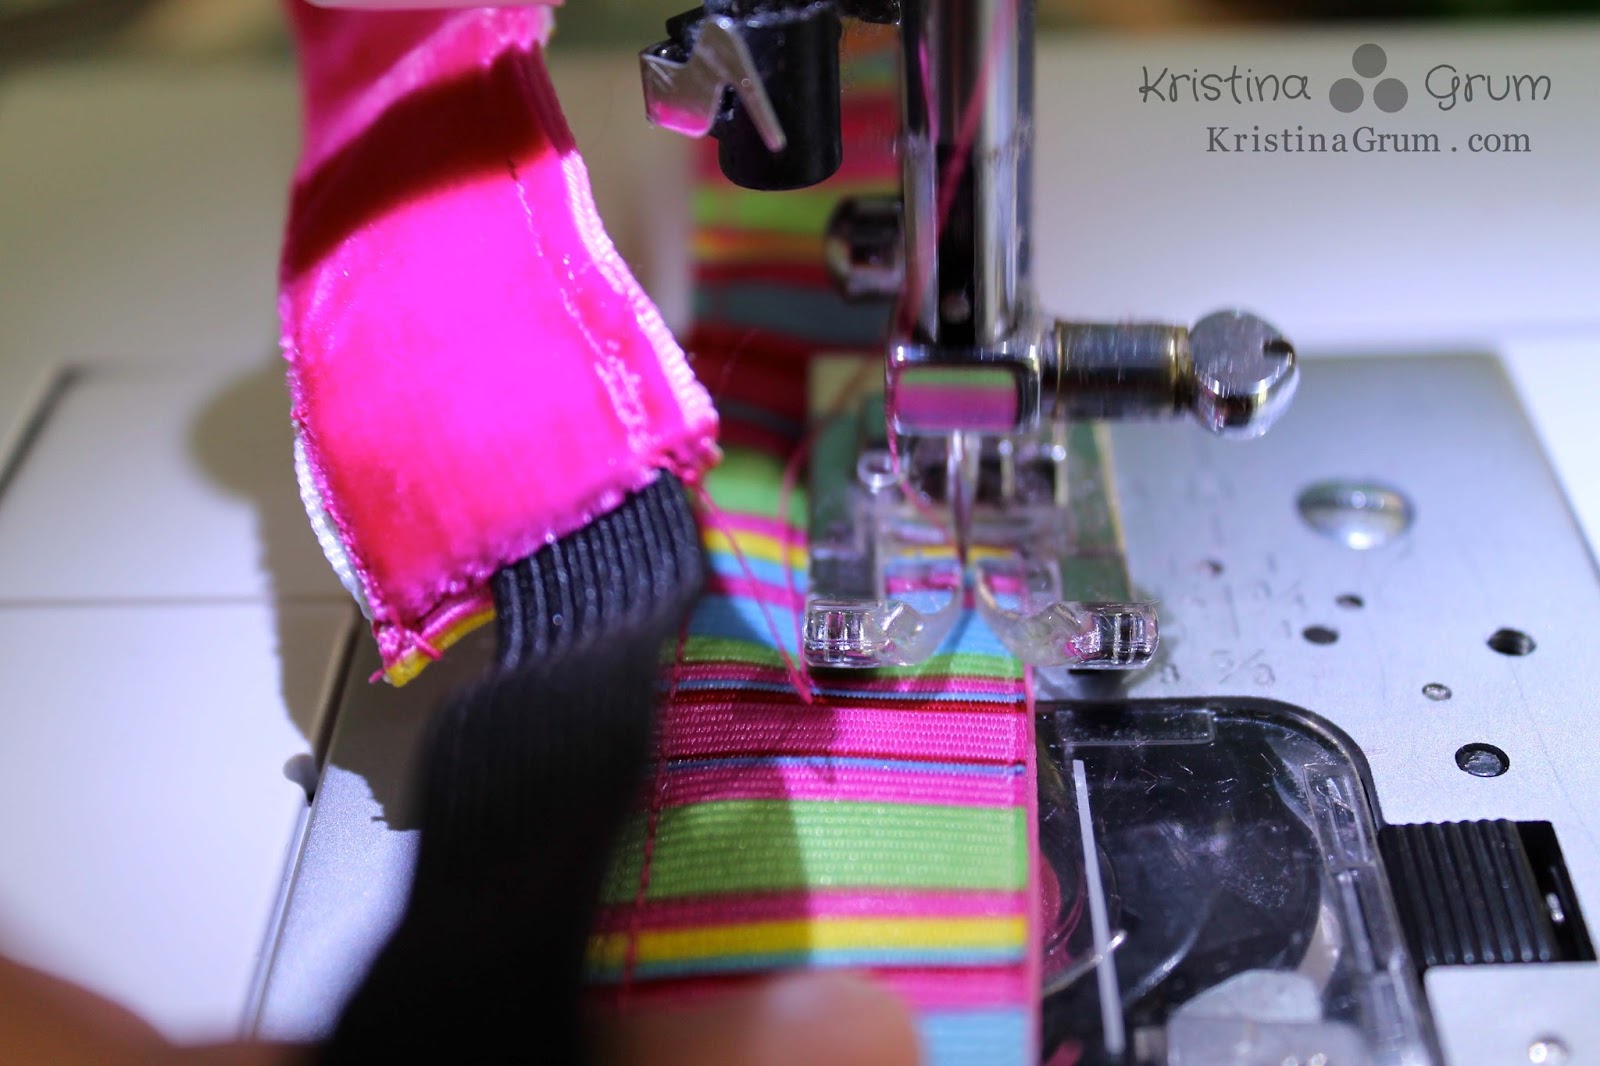
The first thing is lay the grosgrain ribbon down on the table, with the right side up. Next, layer it with the elastic, and the velvet ribbon, right side down. Essentially, the right sides are facing each other. Then sew the edge closed using a 1/2″ seam. You can see in the photo below that I trimmed the edges diagonally so that they won’t peek out when we flip it to the right sides facing out.

Then take the other end of the ribbon and layer it in the same way (grosgrain, elastic, velvet).
You can see how the other end is all bunched up to the right – this is okay. Just make sure that the ribbons are straight and not twisted so they’ll lay flat.

Then sew the other end using a 1/2″ seam and clip the corners as well.

This is what it will look like when both ends are sewn.
Take the ribbon and match the wrong sides together. You’ll be pressing them together with your fingers while the elastic is away from them. Begin sewing along the edge of the ribbon, back-stitching to seal the end. I don’t use a specific seam allowance here. I just try to get close to the edge of the ribbon

Continue to sew all the way to the other end, backstitching at the end. Repeat this on the other side. It’s important to go slow so you can keep the ribbons matched up.
And you’ve finished!


Have you purchased any headbands like these? Do you think you could make them? I bet you could!
xoxo
–k


its lovely
excellent article and very good points.
Non-Slip headbands
BEST tutorial. Made 4 tonight I love these headbands. I bought 2 from a lady.. but can't afford to keep buying them from here. This is a great beginner sewing project too. Thank you
I don’t usually comment, but this is the best tutorial I’ve seen for making these headbands. I am going to make 20 of them for my Girl Scout Troop!
Thanks so much, Jenny! Let me know how they turn out.
Thank you fir the east tutorial, I do not sew but feel I may be able to do this,
Sorry for the misspelling, I did not have my glasses on. I meant thank you for the easy tutorial.?
I make these headbands too and I would have never thought about sewing the elastic under the two ribbons to begin with. Makes it look so much prettier. I also like how you cut the edges at angles. I am going to try this tonight.
Natalie, let me know how it went! We’re due to make some more of these.
Natalie, how did it go? I wanted the ends to look a little more polished for the times I wear one when I’m also wearing a pony tail.
How wide does the both ribbons need to be? Does the velvet ribbon need to be the same width too?
The ribbon can be whatever size you choose. I’d just make sure the velvet ribbon is the same size. If the velvet ribbon is smaller, just make sure when you sew the sides together to sew with a seam allowance big enough so you are sewing on the velvet.
Hope that helps! Let me know if you have any more questions and keep me posted on how it goes.
Please tell me Velvet ribbon helps for the headband not to slip.
Yes, that’s exactly what the velvet ribbon is for.
Here again where can I buy the Velvet Ribbon, can’t seem to find it at Wal-Mart or Michael’s.
Hi Maribel, you can find it on Amazon! Here’s my affiliate link for one’s I’ve purchased before. http://amzn.to/2nuaJqg
Guess what??? Have done a few my daughter loves them and so do I. But I’m having a small problem my ribbons specially the Velvet moves when I’m sewing any tips. Which I could attach picture of the ones I have done.
I have problems when sewing the headbands this way also. Even though I start with exactly the same size ribbons, at the end one of the ribbons is longer than the other. I am not sure how to prevent this from happening.
Peggy, are you stepping very gently on the presser foot? It needs to be sewn super slowly to keep the ribbons together. You can also just cut the ribbon that is longer, as long as the headband still fits.
Maribel, can you email a photo of them and I can help you troubleshoot? I sometimes pin the two ribbons together and I sew them very slowly. My email is KristinaGrum @ gmail.com
I wanted a pink camo headband for a particular sporting event in which I’m competing, but couldn’t find one in the right pattern.
Thanks for the excellent tutorial! It was very easy to follow your step-by-step directions.. A couple of project notes:
— “Folding elastic” comes in many pretty colors, so I tried one with it. No good — the resulting headband does not fit as snugly as one made with standard braided elastic.
— I found pinning the pieces together to be useful both when “sandwiching” the elastic and then sewing the velvet to the ribbon.