• Skip to primary navigation
  • Skip to main content
  • Skip to primary sidebar
  • Skip to footer
  • Me…
  • Home
  • Blog
  • My Book Shelf
  • Let’s Work Together!
    • Parenting Philosophy
    • Parent Coaching
    • Parenting parties
    • Group Workshops
    • Webinars
    • Speaking

Thriving Parents

shifting Parenthood from barely surviving to thriving

  • parenting
    • Children
    • Raising Siblings
    • Family unit
    • Marriage/ Partnership
    • Connection
    • Parents/ Grandparents
  • a peek in our windows
    • Conversations in Our Home
  • in the Kitchen
    • freezer cooking
    • Kids in the Kitchen
    • Meal Planning
    • Recipes
      • Recipes
      • Gluten Free Recipes
  • in the home
    • Simple Solutions
    • Organization
    • Health
      • Celiac

Recipe: Homemade Ice Cream Cake

Homemade Ice Cream Cake

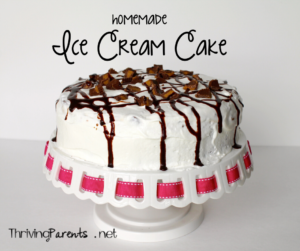
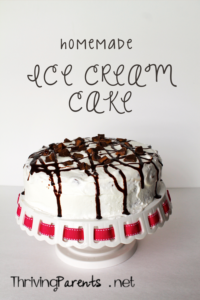
This is by far the most popular recipe in our family.  This recipe is special.  And by special, I mean it’s so yummy that we make it for almost all celebrations.

Depending on where you live, you might be familiar with Carvel and their ice cream cakes.  They have a cookie crust and a cookie middle layer.  The Carvel stores closed in our area and we were devastated.  We loved their cakes.  This is our DIY version that incorporates our favorite candy – Reese’s Peanut Butter Cups.  It’s especially perfect now that we’re gluten free – we just use gluten free sandwich cookies, instead of Oreos, for the crust.  It’s completely gluten free that way!

Recipe for Homemade Ice Cream Cake:
1 gallon of vanilla ice cream (or a flavor of your choice)
1 package of chocolate sandwich cookies (or 2 packages of gluten free sandwich cookies)
2 small containers of whipped topping or 1 large container
1 large bag of Reese’s mini peanut butter cups
1 gallon size Ziploc bag
a springform pan


I should preface this by saying that you can use any kind of candy.  So if there is a peanut allergy and you can’t do Reese’s peanut butter cups you can use anything else.  The only candy I’ve tried and didn’t like was m&m’s.  They get too hard in the ice cream and then are hard to bite.  While we are at it, you can use any flavor of ice cream and any kind of sandwich cookie.  The possibilities are endless!

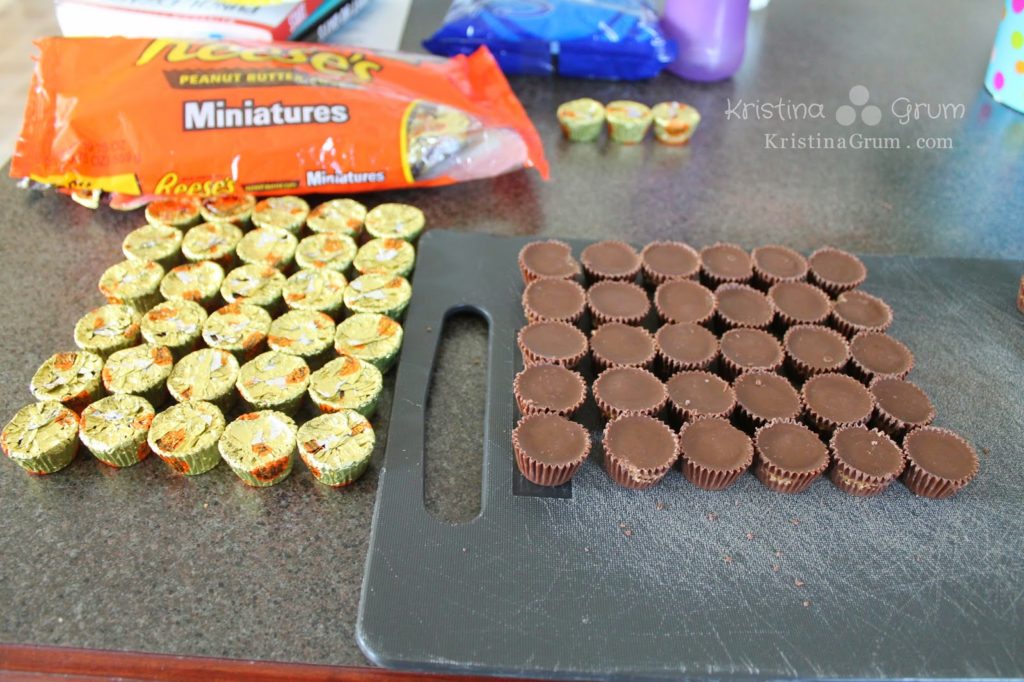
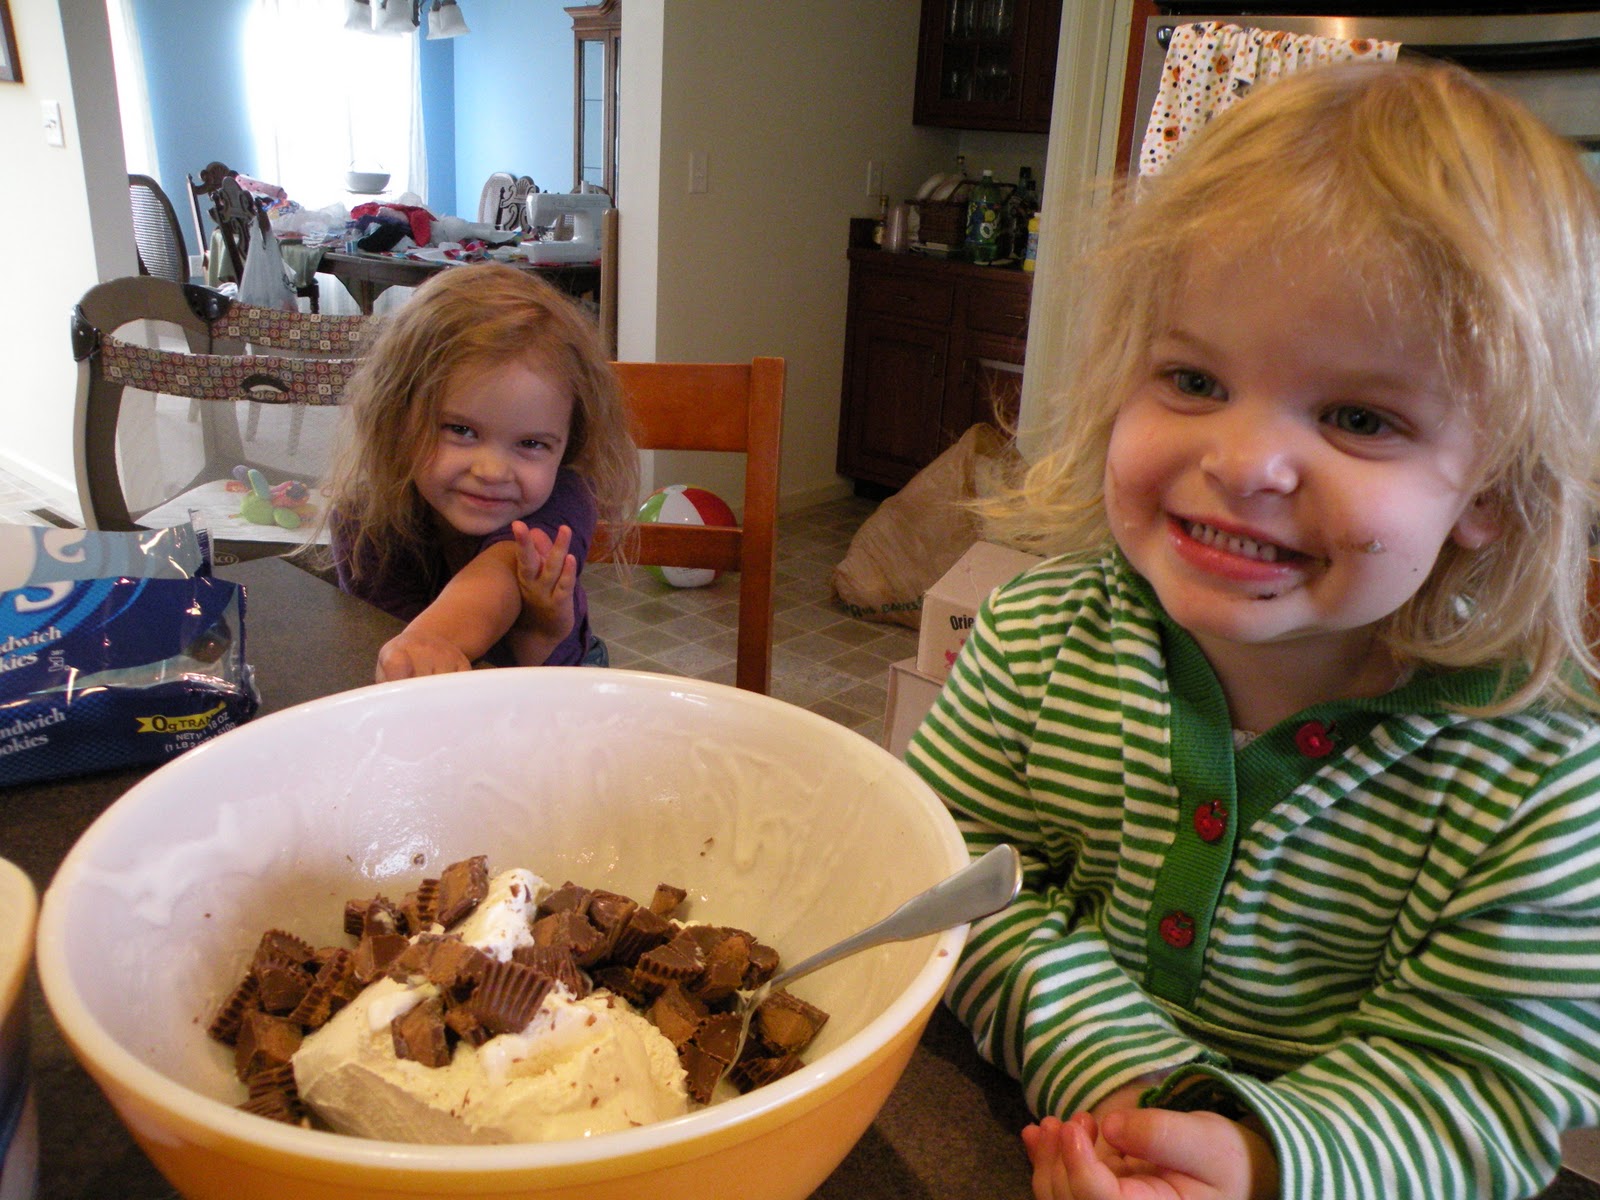
The first thing you need to do is unwrap the Reese’s peanut butter cups.  I usually unwrap about 40 and start from there.  And it’s totally appropriate to accept the help of little people (a.k.a. your children) to do this.  Just be careful – they tend to be taste testers as well as helpers!

Take a sharp knife (a serrated knife works best) and cut them in fourths.  If you buy the bigger Reese’s peanut butter cups, you’ll just have to cut them into more pieces.


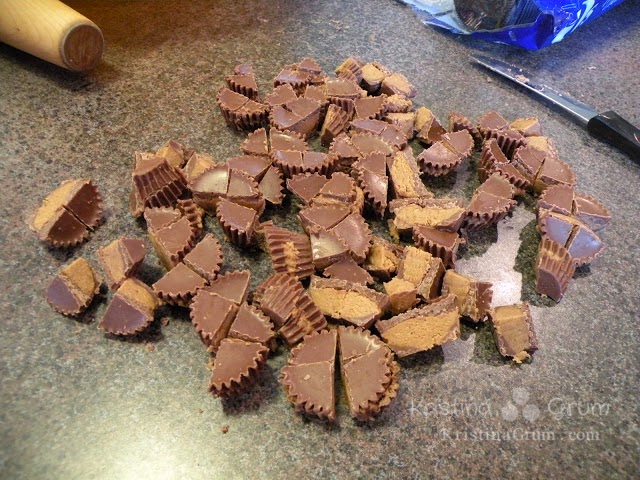
And yes, I cut these right on my counter.  I have a bad habit of doing that when I don’t absolutely need a cutting board.  Remarkably, my counters look pretty great.  Just don’t tell my husband – it drives him crazy when I do it!  Set the candy aside.

Take half of the ice cream out of the container and put it in a bowl on the counter.  It needs to soften a bit and will take a little bit of time.

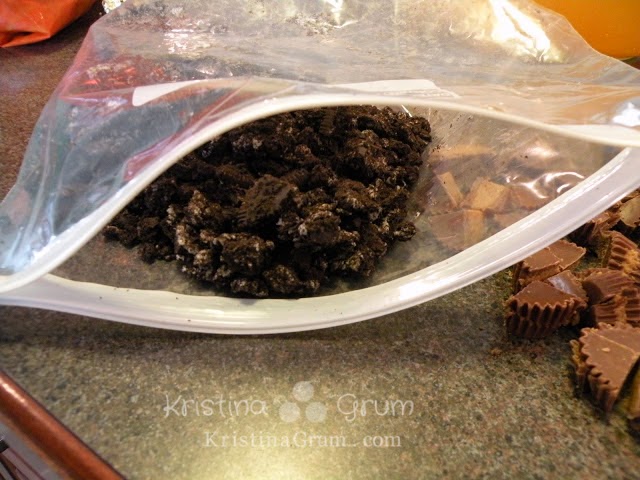
The next thing you need to do is place half of the package of chocolate sandwich cookies (or 1 whole pack if you are using gluten free cookies) in a gallon sized Ziploc bag.  Close the bag (very important step!) and take a rolling pin and bang on the cookies.  This is a great way to get out frustration, if you have any, as the smaller the cookies are, the better a crust it will make. I have let the girls bang on them on the floor before, but you have to be careful that the bag doesn’t get a hole in it and cookies spill out onto the floor.  It’s happened… and our dog was thankful.

Add this chocolatey goodness to a small bowl with some whipped topping.  Normally I buy two of the smaller containers but this time I just bought one large one.  If you use the smaller containers, add half of 1 of the containers to the bowl.  If you use the larger container of whipped topping, add 1/4 of the container to the bowl.

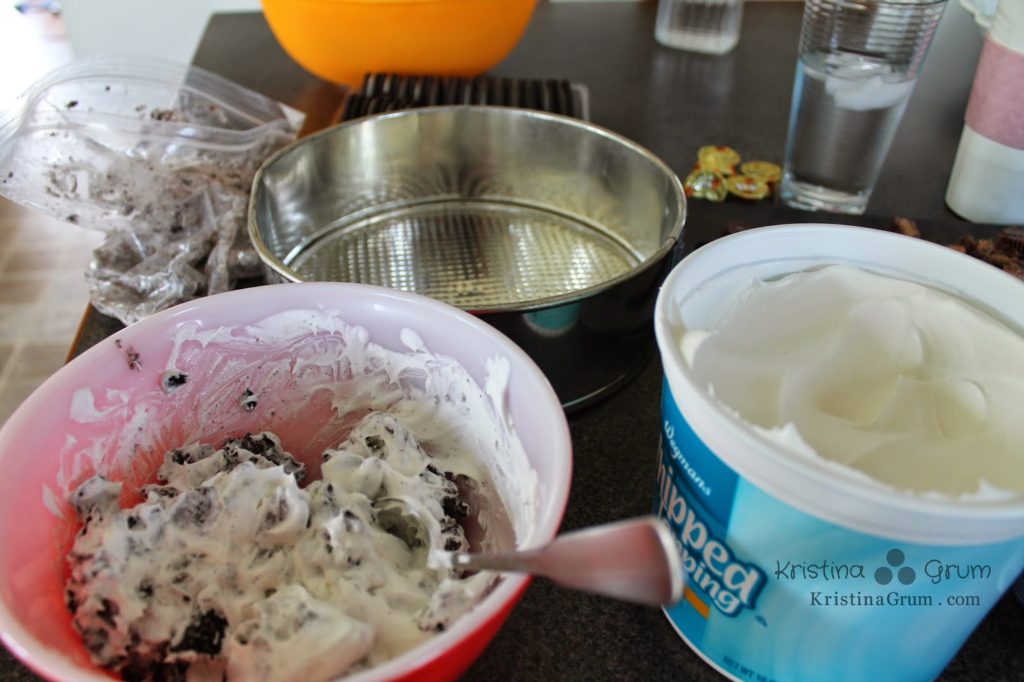
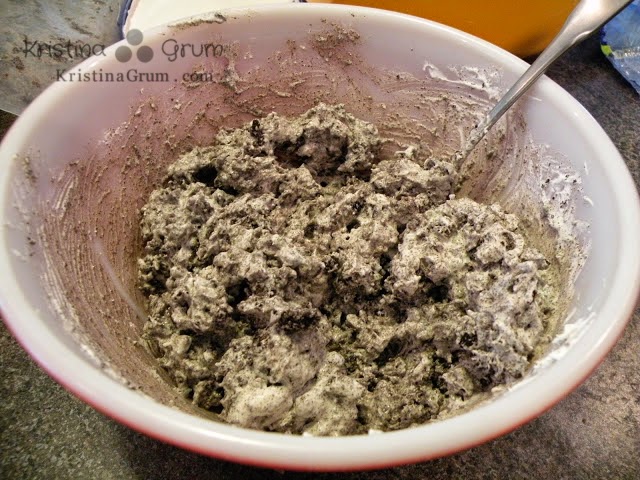
Use a large spoon to mix the whipped topping and the chocolate sandwich cookies until they are combined well.

If you think it has too much cookie, just add some more whipped topping.  If you think it has too much whipped topping, just add some more cookie.  You really can’t mess this up because there’s no science behind it.

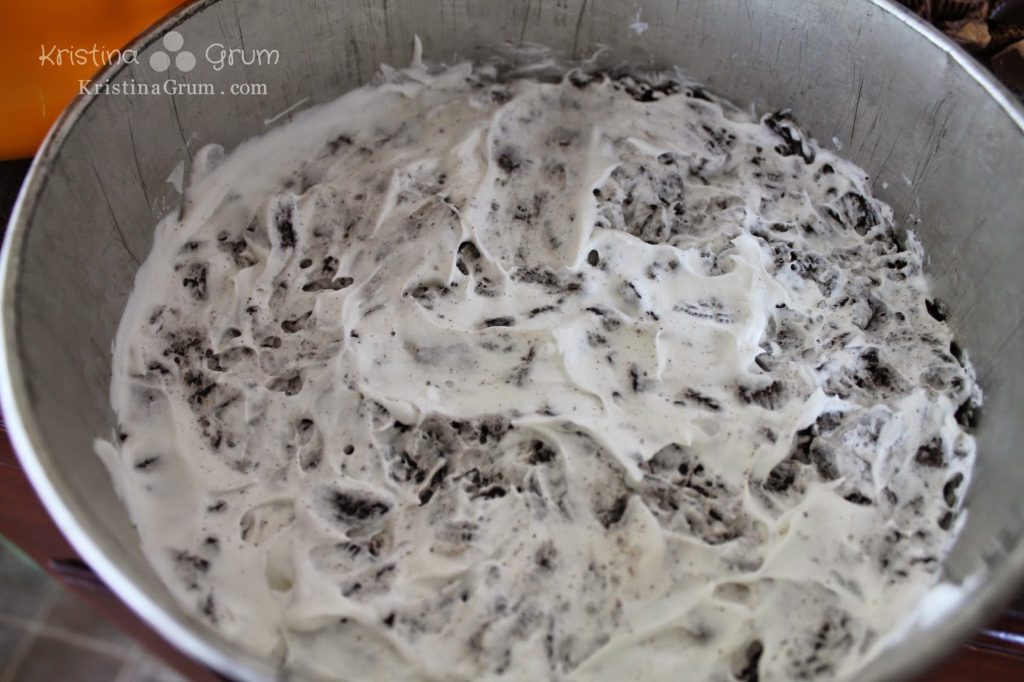
Once it’s thoroughly mixed, put it into the bottom of a springform pan.  You want it to be about 1/4 ” deep, no more.  Press it in with your hands to make sure it’s firmly packed down.  Then put the springform pan into the freezer so it can harden while you are working.

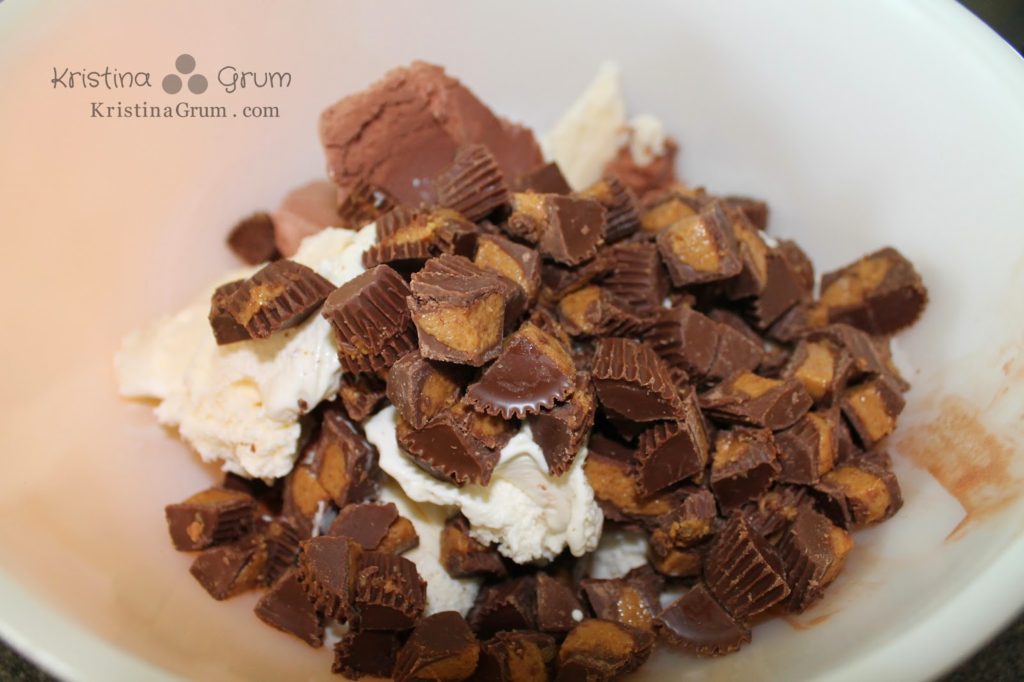
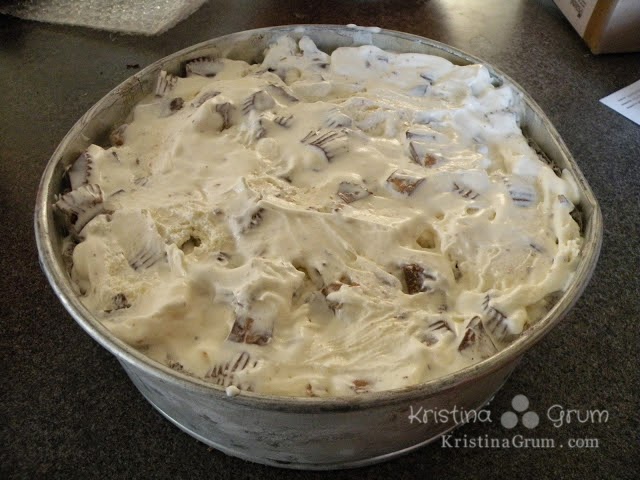
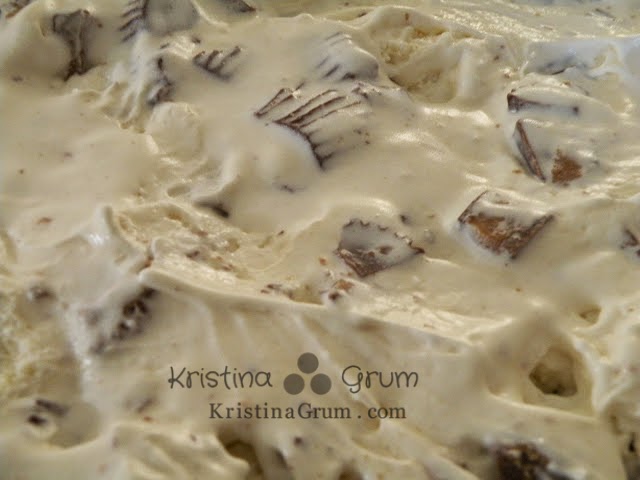
By now your bowl of ice cream should be semi-soft.  If it’s not, just take a spoon and mix it around a bit.  It just needs to be soft enough to mix in your candy.  Place about half of your cut up Reese’s cups in it.  You can add as much or as little as you’d like.  I like to make sure there’s a few in each bite.  Use a spoon to mix them together so they are combined.

Can you tell my helpers have been helping themselves to candy and cookies?
Add this ice cream/ candy mixture to the springform pan.  Push it into the corners so it’s a complete layer on top of the crumbled cookie crust.  Put the pan back in the freezer again so it hardens while you continue working.  While you are in the freezer putting your pan away, grab the rest of the vanilla ice cream and let it set out to get soft.
Now the rest of the recipe is easy because all you are going to do is repeat the last two layers.  Make another batch of the cookie crust for the middle layer and another layer of the ice cream/ candy mixture.  Most important thing to remember is to put the springorm pan back in the freezer between every step.  If not, the cake will be too soft to hold another layer on top of it.
This is what it looks like when the cake is all done:
Delicious?  Absolutely!  But we’re not done yet.  Keep your springform pan in the freezer for a few hours until it’s hardened all the way through.  I usually make it the day before I need it and take it out a few hours ahead of time.  Set the pan on a flat surface and take a knife (butter knife works fine) and run it between the inside of the pan and the cake.  Do this twice to be sure you’ve separated the cake from the pan.  Slowly open the “buckle” on the pan and remove the side walls.
Now, for the last step…  Cover the entire cake with whipped topping.  You can be generous or just barely cover it.  Whatever your preference.  I like to be generous.  I mean, who doesn’t love whipped topping?  Take a few Reese’s pieces and decorate the top of the cake with them.  Slightly push them into the whipped topping so they will set in.  Make room in your freezer for the cake.  You’ll need more room than you did before because you don’t have the sides of the springform pan to protect it.  There have been many times that the sides of my cake have gotten all over a bag of green beans.
My biggest recommendation is to take the cake out of the freezer about 15 minutes before you want to serve it.  This way it won’t be quite so “hard” when it’s time to cut it.  Also, use a serrated knife to cut it.  It’ll work so much easier.
Please try this recipe and let me know how it turns out!  And if you have any questions, please feel free to ask me.
xoxo
–KG
Pin this to save it for later!
Homemade Ice Cream Cake

*These links are affiliate links.  What does that mean?  It means if you click on the links to purchase these products I get a few pennies for every dollar.  Basically, in a year I’ll be able to take the girls out to ice cream.  😉

Filed Under: Gluten Free Recipes, recipes, Uncategorized Tagged With: Uncategorized

Kristina Grum is a Certified Parent Educator who has over a decade of experience working with children, including being a classroom teacher. She currently teaches parenting classes in her local area and writes about shifting parenthood from barely surviving to thriving.

Reader Interactions

Comments

  1. Michelle says

    June 14, 2011 at 2:26 pm

    I'm so excited to try this! My hubby LOOOVES ice cream cake, and not so much normal cake. Thanks for sharing this!

  2. Patti says

    June 16, 2011 at 10:31 pm

    I am so not making this. I would eat it all by myself. But it does look incredibly yummy. Lucky for me I can't get little Reese's cups here unless I pay a ridiculous amount for them
    Love
    Patti xxx

  3. Jennifer Garlinski says

    October 27, 2012 at 1:30 am

    Yum, yum, yum, yum, yum! (Sing that like the Music Together ice cream song!)

    • KristinaGrum says

      October 27, 2012 at 1:54 am

      Does that mean you made it or are just having fond memories of it?

  4. Linda Roy says

    July 8, 2013 at 2:54 am

    Mmmm ice cream cake!!

  5. momopolize.com says

    July 8, 2013 at 1:35 pm

    Oh my! Now I want ice cream for breakfast. One of my sons always asks for ice cream cake for his birthday. I made one last year but mixing in the candy…yummm…just yum!!!

    Stopping by from the "I don't like Mondays" hop.

  6. april litchfield says

    April 26, 2014 at 11:26 pm

    Made this today for my daughter in law and everyone LOVED IT!!! Thanks for sharing

    • KristinaGrum says

      April 28, 2014 at 3:13 am

      April, I am so glad! Did you make it with Reese's peanut butter cups or with another candy?

  7. april litchfield says

    April 26, 2014 at 11:26 pm

    Made this today for my daughter in law and everyone LOVED IT!!! Thanks for sharing

  8. Valerie Perez says

    May 6, 2014 at 11:36 am

    You had me at reese's peanut butter cups. Definitely saving this recipe for the future! Thanks for sharing 🙂

    xo, Val

  9. Kathy MacKenzie says

    June 29, 2014 at 11:55 pm

    Just pinned this and my husband just asked for ice cream cake for his birthday next week. He was born on July 4th : )

  10. Tarana Khan says

    November 4, 2014 at 5:50 am

    Yum! I just pinned this 🙂

  11. Chris Carter says

    January 16, 2015 at 12:55 am

    Okay- that looks… AMAZING. I am just dying to have that cake NOW!

Primary Sidebar

connect with me


I’m looking for…

Join the Thriving Parents Community group on Facebook to find support and ideas from me and other positive parents

The dresses I can’t live without!

I love Amazon Prime

Categories

Archives

Footer

Hi… I’m Kristina!

Kristina Grum is a Certified Parent Educator who has over a decade of experience working with children, including being a classroom teacher. She currently teaches parenting classes in her local area and writes about shifting parenthood from barely surviving to thriving. Read More…

my favorite posts

Connecting with your kids only gets harder as they get older. Here are 3 ways to connect with your children individually.
Every day I do these 5 things to connect with my kids...
Mother’s Day can be stressful for everyone. Make it easy by giving one of these 5 gifts that most moms won’t tell you they want for Mother’s Day.

© 2025 · Thriving Parents