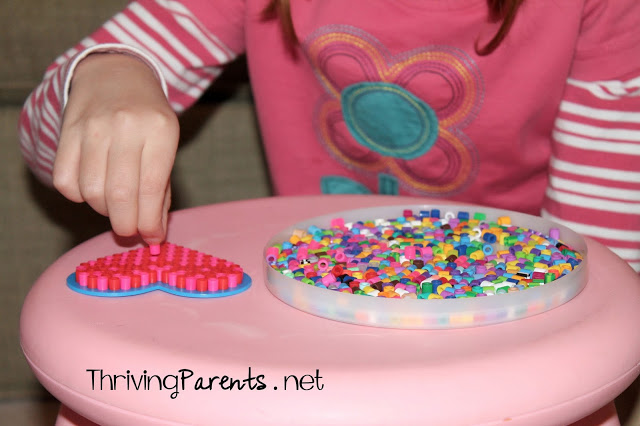
At a birthday party a few years ago the girls were introduced to perler beads. If you’re not familiar with perler beads, they’re small, cylinder shaped beads that have a hole through the center. They’re made to place on a pegboard and then with an ironing sheet placed on top, are heated with an iron to fuse them together. The object is to make designs that look like shapes, animals, letters, and pretty much anything you can think of.
Perler beads are great for fine motor development and for building hand eye coordination. I would also say that they work well for teaching children patience, as well. It takes a lot of patience to finish a design because each design contains many beads. Often the smallest of bumps can cause an upheaval and the beads need to be fixed on the pegboard. There have also been times where I bumped the pegboard as I was getting ready to iron it and they’ve ALL fallen off. It’s not fun to have to replace all the beads or to find them when they’ve fallen all over the floor.
To say the girls have become obsessed with perler beads is an understatement. I buy the largest bucket of perler beads I can find and while it takes us a few months to go through them all, they never seem to get tired of this activity. They seem to have a bucket out at all times. We’ve taken to calling them melty beads because we melt them together.
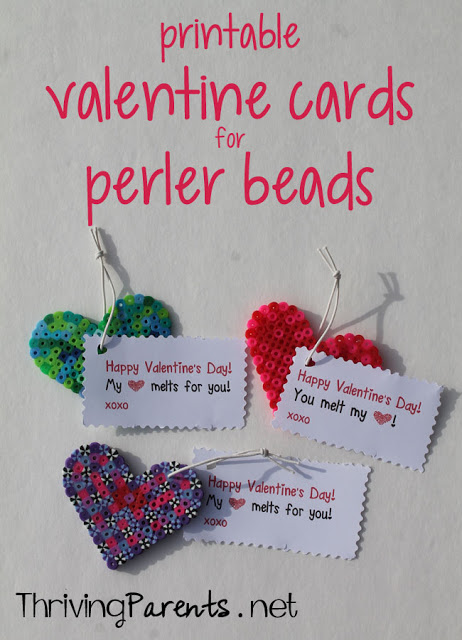
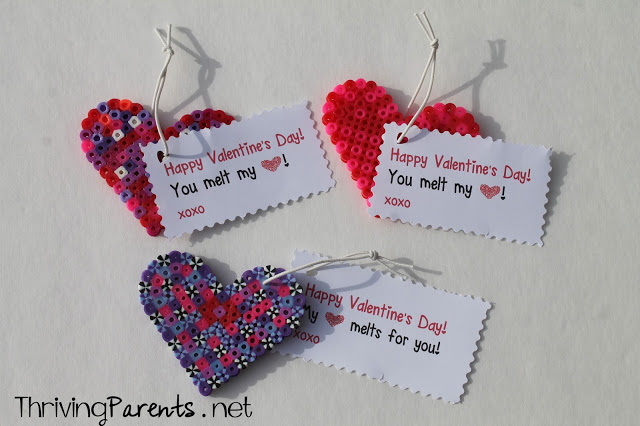
For Valentine’s Day this year one of the girls decided to make melty bead hearts as her valentines. They look adorable and she put a lot of love and sweat into making them. I created 2 printables to go along with them. (The links are at the end of the post.)
What you need:
perler bead set with the heart pegboard
iron
paper
printer
elastic string
paper hole punch (I love this heart one!)
scissors
What to do:
1. Using the heart pegboard, arrange the perler beads using any colors you choose. I suggest that kids do it randomly because it can take forever for them to find the colors they want to use and this activity is one that takes a little longer if you are going to use them for valentines.
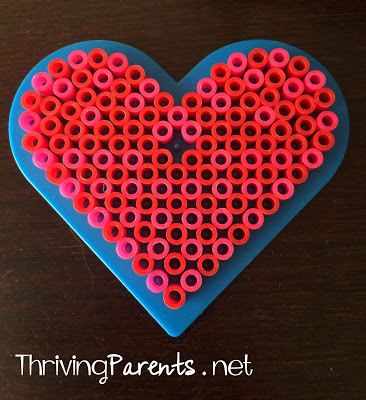
2. Follow the directions on the package to properly melt and fuse the beads together, but leave one bead out. This photo will show you exactly which bead. You want to use this space to put the tag through the heart.
3. Download the printable of your choice and print the pdf on thicker paper. We’ve used cardstock and we’ve also used 28lb paper before. Regular paper would work too but it may rip more easily when used as a tag.
4. Cut out the tags. You can use fun scissors like this or just regular safety scissors.
5. Using the paper hole punch (I love this heart one!), punch a hole in the side of the tag.
6. Cut the elastic into 8″ strips and thread the elastic through the tag and a perler bead heart.
7. Tie a knot. I used the same kind of knot you would use if you were tying a balloon.
Click HERE to download the printable My heart melts for you
Click HERE to download the printable You melt my heart
What kind of valentines are you using this year? Do you usually make them or buy them?
xoxo
–k
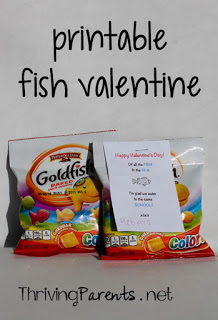
If you are looking for an additional idea for valentines, check out our printable fish valentines.
Kristina Grum is a Certified Parent Educator who has over a decade of experience working with children, including being a classroom teacher. She currently teaches parenting classes in her local area and writes about shifting parenthood from barely surviving to thriving.
