• Skip to primary navigation
  • Skip to main content
  • Skip to primary sidebar
  • Skip to footer
  • Me…
  • Home
  • Blog
  • My Book Shelf
  • Let’s Work Together!
    • Parenting Philosophy
    • Parent Coaching
    • Parenting parties
    • Group Workshops
    • Webinars
    • Speaking

Thriving Parents

shifting Parenthood from barely surviving to thriving

  • parenting
    • Children
    • Raising Siblings
    • Family unit
    • Marriage/ Partnership
    • Connection
    • Parents/ Grandparents
  • a peek in our windows
    • Conversations in Our Home
  • in the Kitchen
    • freezer cooking
    • Kids in the Kitchen
    • Meal Planning
    • Recipes
      • Recipes
      • Gluten Free Recipes
  • in the home
    • Simple Solutions
    • Organization
    • Health
      • Celiac

Make your own Lego table

We’ve made a few of these Lego tables for family members lately, including one for Caroline for Christmas.  She’s a huge Lego fanatic and needed a place to build.  This Lego table is the perfect height for kids to sit and provides a stable base for them to build.
The table costs $10 and the building plates cost $20. If you have adhesive at home this table would cost you about $30 and take less than an hour to make. You can easily make one too!  
Here’s what you’ll need:
Ikea Lack table (which now comes in 14 different colors)
4 Lego Building Plates* 10″ x 10″
Adhesive* (we have ours in a caulk gun)
Putty knife*
A few Lego pieces
This is what the Lack table looks like when you purchase it.  
These are the building plates we purchased.  We ordered them through Amazon but you can purchase them in a Lego store as well. 

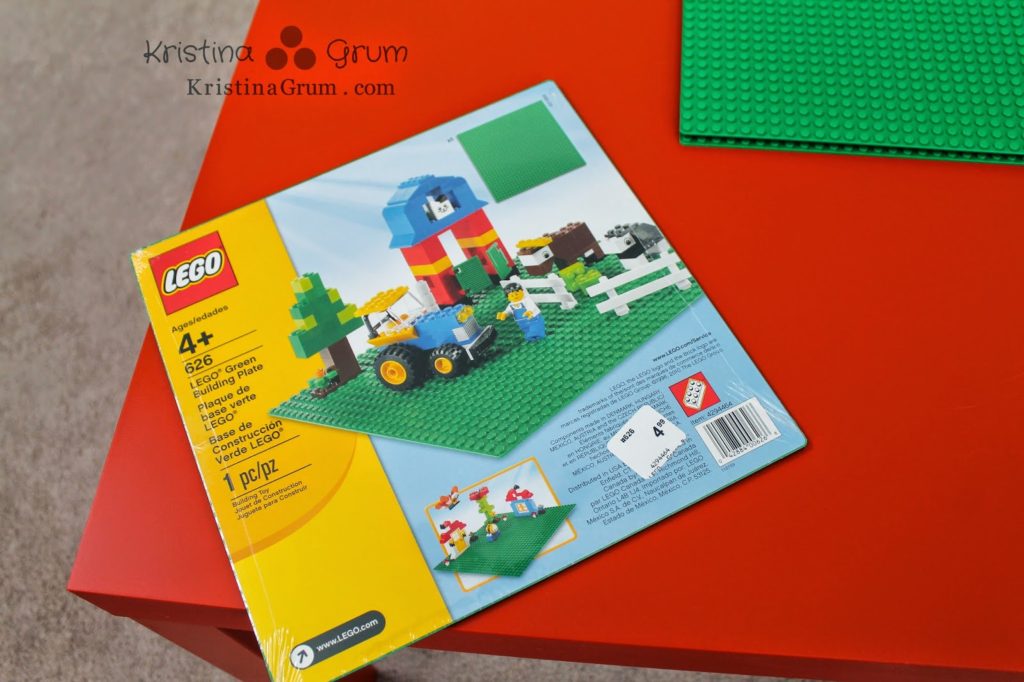
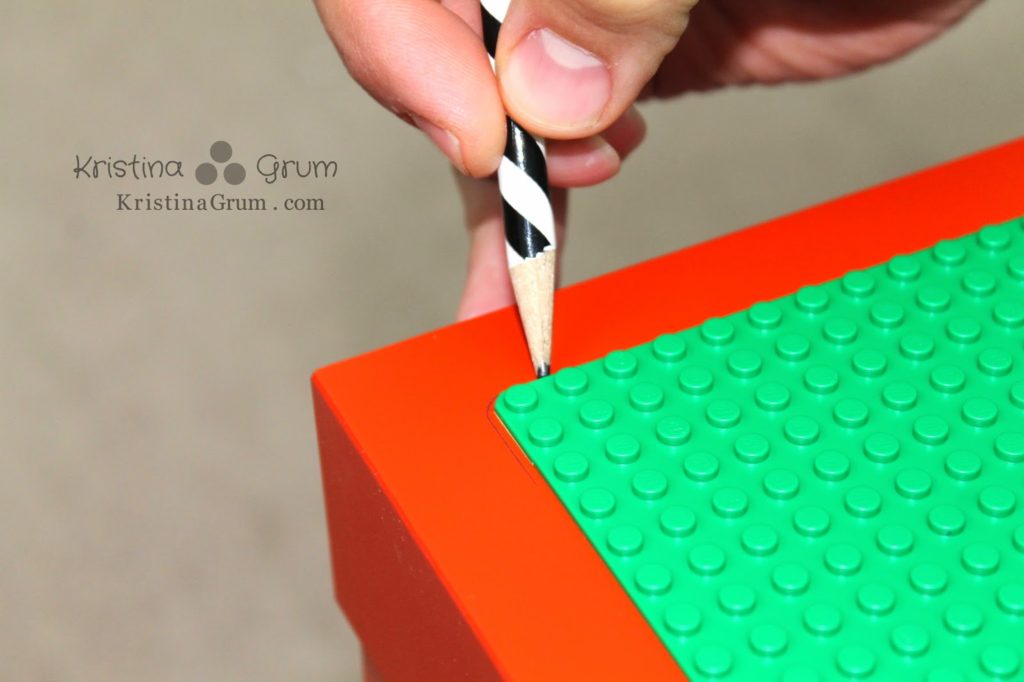
Place all 4 Lego Building Plates on the table and center them.  You want to make sure that the edges of the table are all even.

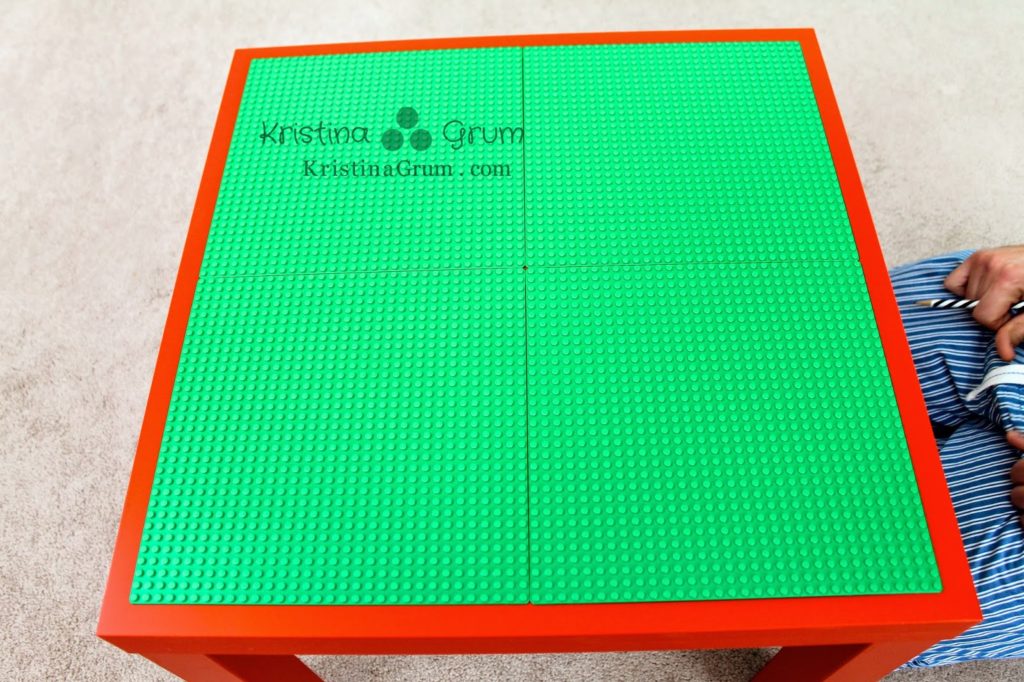
With a pencil, trace around each corner only.  There’s no need to trace the entire building plate.

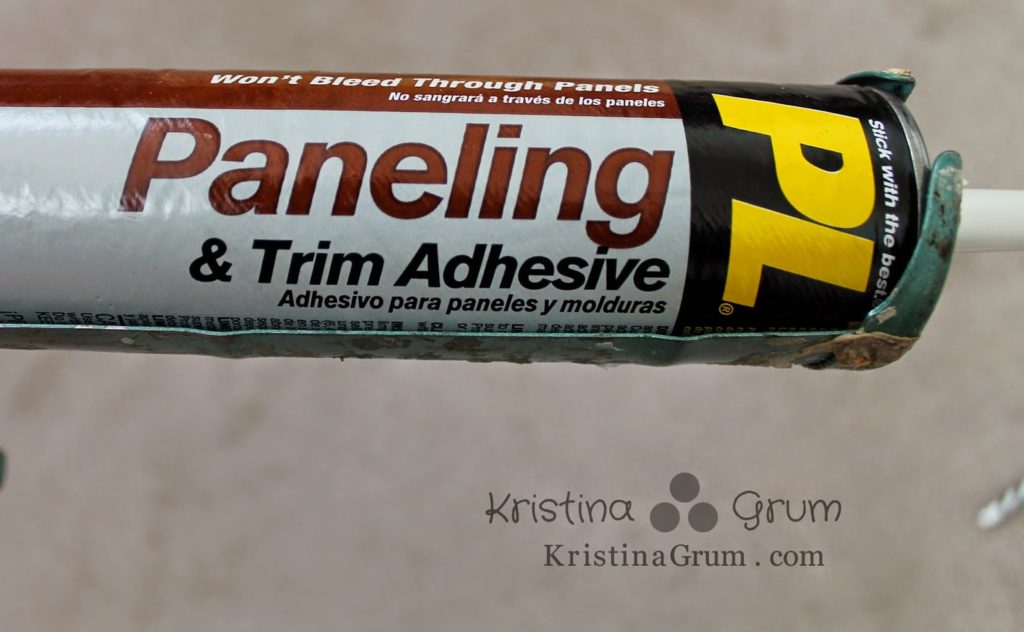
Use a paneling & trim adhesive (or other kind of adhesive).  We have ours in a caulk gun, which made it easy to apply.

With the adhesive, draw a diagonal line across the back of the building plate.  

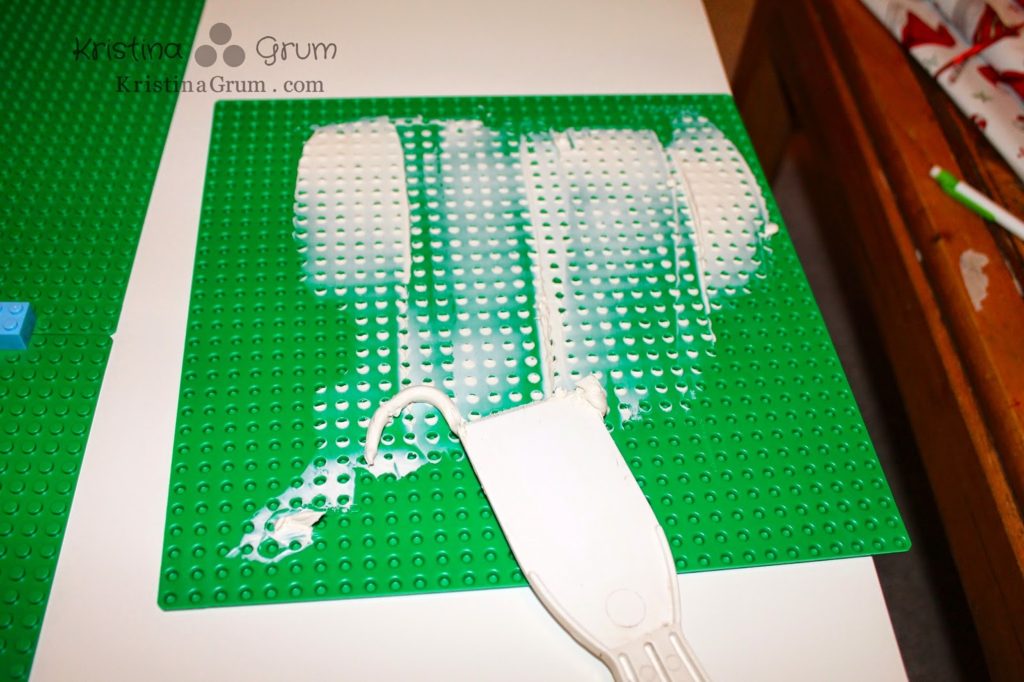
Take the putty knife and spread the adhesive around.  Try to spread it to the edges.  A lot of the adhesive will fall into the grooves.  Don’t try to spread it too thin, but you definitely don’t want it to be too thick, either, or it will come out of the edges once you press the plate down.

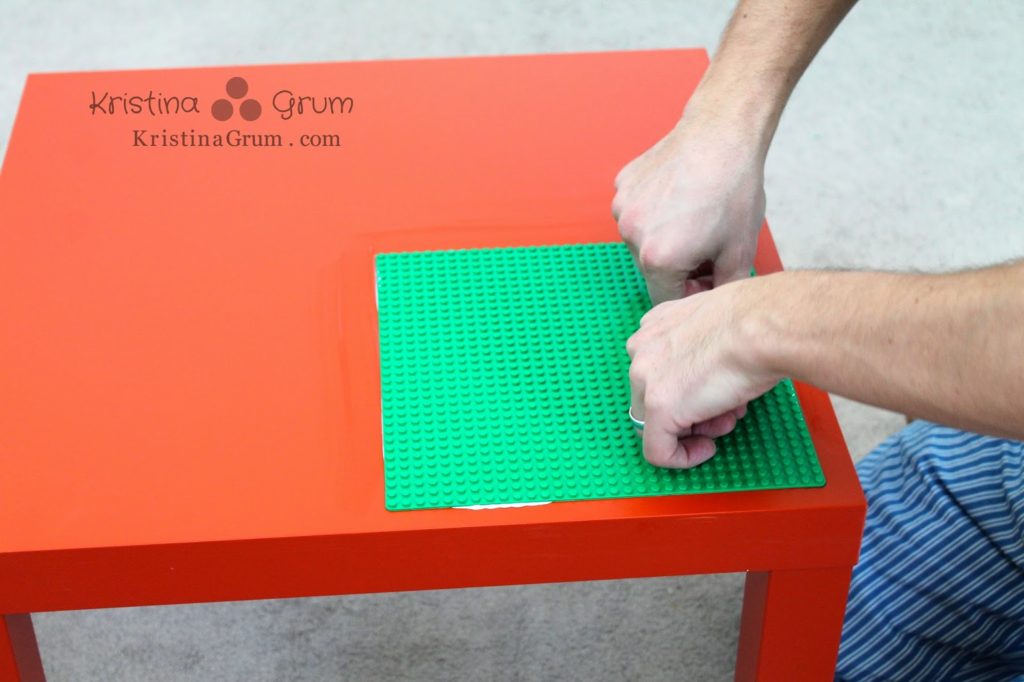
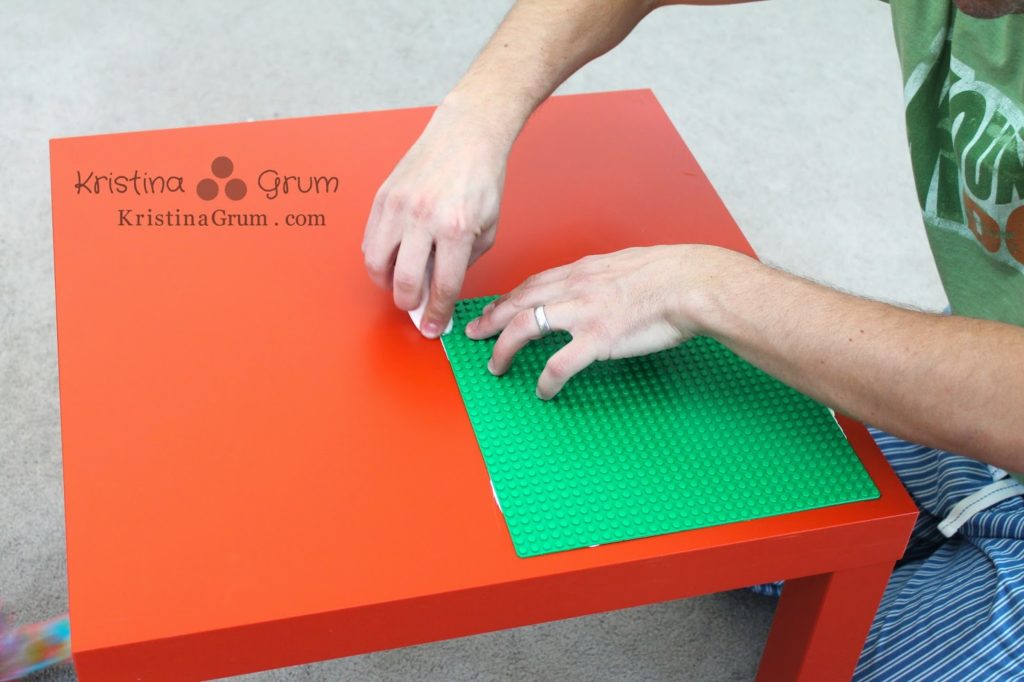
Turn the building plate over and press down gently starting at the center and working your way to the edges.

You may have some of the adhesive sneak out of the sides and if so, just wipe it with a damp paper towel.
Put the adhesive on the next building plate and repeat the previous steps.  Do only one plate at a time so that the adhesive doesn’t begin to dry before you are able to apply it to the table.  
** It is important to use a Lego piece to properly space the building plates.  At first we just put them up flush against each other but then Lego pieces couldn’t be connected over the two adjoining plates.  There will be a slight space between building plates on the table and using a Lego to attach the plates will help you get the spacing perfect.
We put weights on top of our building plates when we were finished.  This allowed the building plates to attach firmly to the table and not move.  We allowed them to dry for at least 12 hours before letting the kids have at them.

This is a super easy project and one that even the kids can help you with.  I can’t wait to hear about the tables that you all make.  Please tag me in any of your photos so I can see them!

xoxo
–k


*These links are affiliate links.  What does that mean?  It means if you click on the links to purchase these products I get a few pennies for every dollar.  Basically, in a year I’ll be able to take the girls out to ice cream.  😉


Filed Under: DIY, Uncategorized Tagged With: Uncategorized

Kristina Grum is a Certified Parent Educator who has over a decade of experience working with children, including being a classroom teacher. She currently teaches parenting classes in her local area and writes about shifting parenthood from barely surviving to thriving.

Reader Interactions

Comments

  1. Denise Bertacchi says

    October 31, 2014 at 5:24 am

    This is AWESOME. Maybe I'd step on fewer LEGOs this way.

  2. Debbie says

    November 4, 2014 at 2:45 am

    Wow this is awesome. I love it!! My kids love legos and usually use the coffee table or floor. This project looks easy so thanks for sharing it.

  3. Chris Carter says

    November 4, 2014 at 2:47 am

    This is BRILLIANT!!!

  4. Kristi Campbell says

    November 4, 2014 at 3:24 am

    Karma baby! I just yesterday or the day before asked my buds on FB about Lego Tables!!! You rock!

Primary Sidebar

connect with me


I’m looking for…

Join the Thriving Parents Community group on Facebook to find support and ideas from me and other positive parents

The dresses I can’t live without!

I love Amazon Prime

Categories

Archives

Footer

Hi… I’m Kristina!

Kristina Grum is a Certified Parent Educator who has over a decade of experience working with children, including being a classroom teacher. She currently teaches parenting classes in her local area and writes about shifting parenthood from barely surviving to thriving. Read More…

my favorite posts

Connecting with your kids only gets harder as they get older. Here are 3 ways to connect with your children individually.
Every day I do these 5 things to connect with my kids...
Mother’s Day can be stressful for everyone. Make it easy by giving one of these 5 gifts that most moms won’t tell you they want for Mother’s Day.

© 2025 · Thriving Parents