I ordered a cork board, fabric, and grosgrain ribbon. I already had a staple gun, extra staples, and a hot glue gun. Then I got to work.
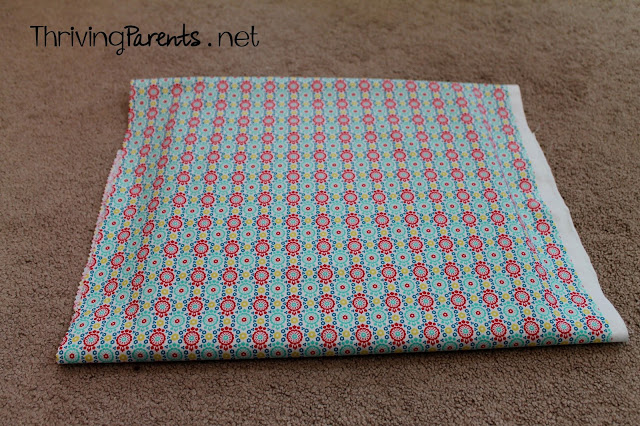
First, I ironed the fabric. I wanted to try to get all the wrinkles out because even though I’d be pulling the fabric tight, every little wrinkle would show. I used some heavy starch while ironing and it looked really crisp. I trimmed the edges of the fabric with pinking shears so the edges wouldn’t fray over time.
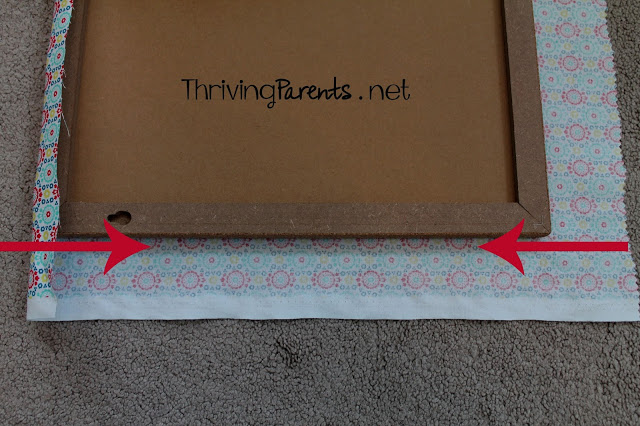
Because I picked a fabric with a design on it, I wanted the fabric to line up straight with the edge of the cork board. I placed the fabric on the floor, wrong side up, and arranged the cork board so that it was even across the pattern. You can see how I lined it up by where I placed the red arrows below in the photo.
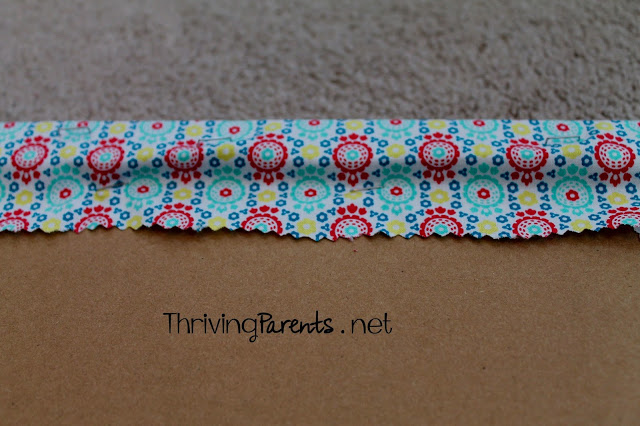
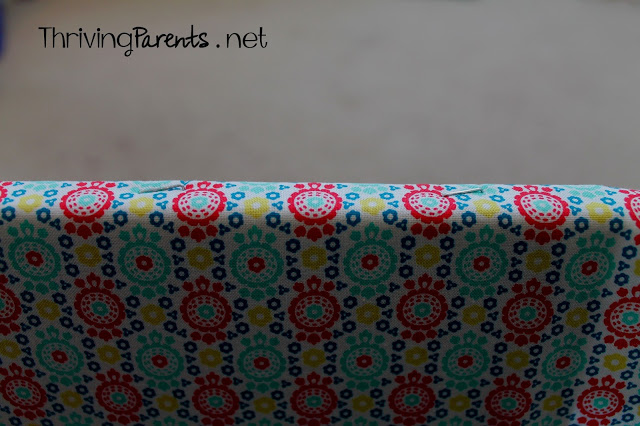
Some of my staples were sticking out a little bit so I took a hammer and hammered them in a bit so they’d be flush with the cork board. I don’t think you’d be able to see it from a distance but it was visible close up.
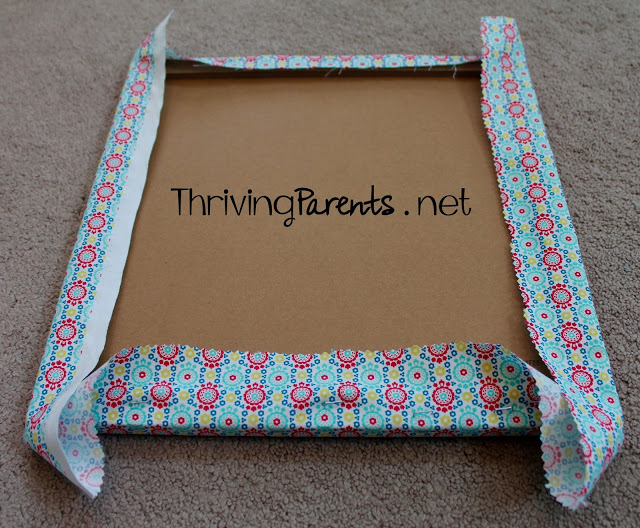
Once I had all 4 sides stapled, I had to work on the corners.
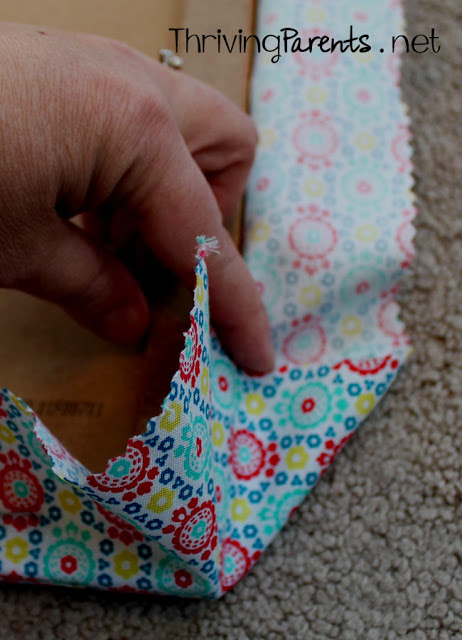
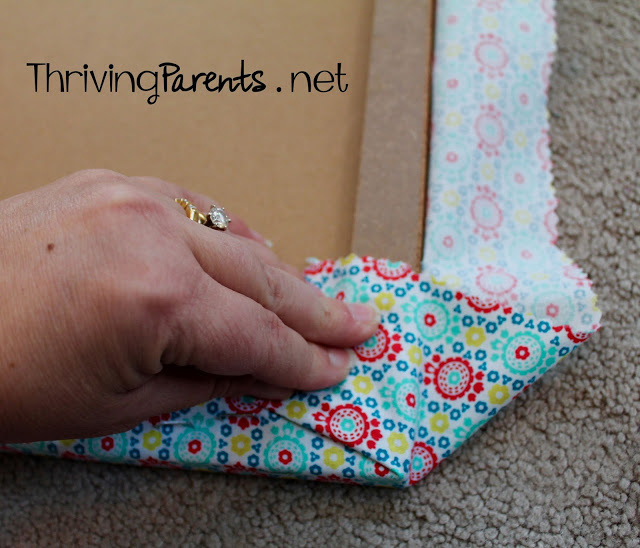
Once I had all 4 sides stapled, I had to work on the corners. I took a corner of the edge and folded it to make a straight edge. You can see where my pointer finger holds the fabric down. While that finger held the fabric down, I folded the bottom edge up and pulled it tight. You can add a staple at this point if you’d like but you don’t have to.
Then I folded the piece that was up in the air to the left side but still kept the piece was originally holding down to the right. Notice my hands are holding it tight. I wanted to make sure I got the corners nice and tight and the fabric wouldn’t look bunchy when I was done. Then I took that piece that was to the right and pulled it all the way over to the left on top of the rest of the fabric and stapled it. You can staple each part of that step if you feel like you can’t hold it securely. Just be careful not to put all the staples on top of each other. If you look closely at the very corner of the cork board, it almost reminds me of what it must be like to do hospital corners with sheets when making a bed. You want the corner to be very defined.
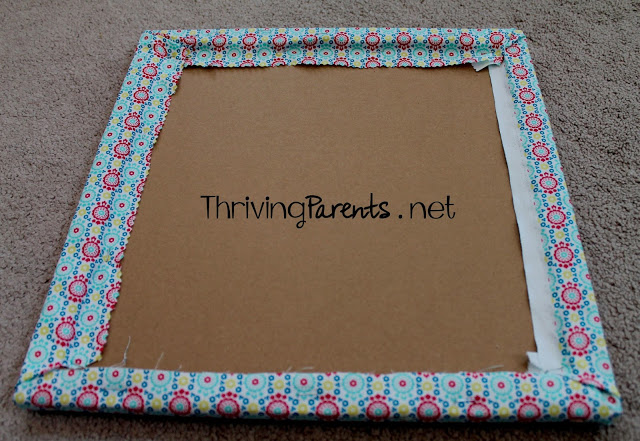
This is what it looks like when all 4 corners are done.
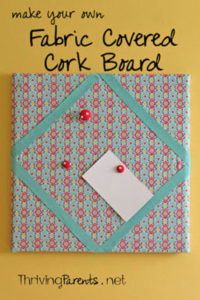
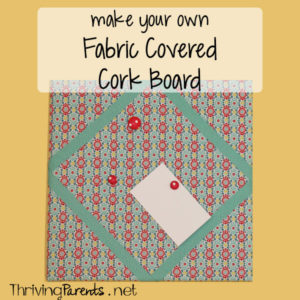
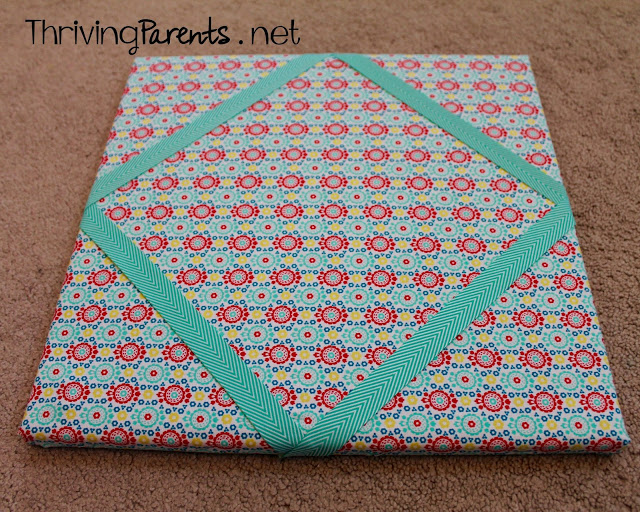
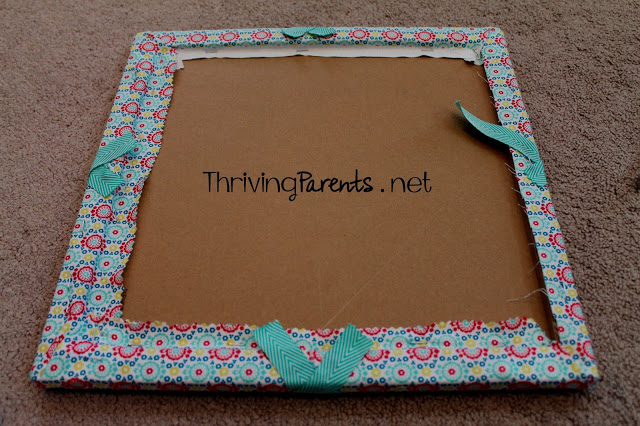
I played around with the grosgrain ribbon for a while until I decided what pattern I wanted to put it on. I decided to go with a simple diamond shape. I measured to find the middle of each side of the cork board and decided which direction I wanted the lines to face on the ribbon. Using the hot glue gun, I added glue to the back of the ribbon, but in 2″ increments. I wanted to be able to tuck papers and notes under the ribbon, along with using pushpins, so I couldn’t glue the entire ribbon down. On the areas that I used hot glue, I added a lot so that the entire ribbon would stay adhered to the fabric.
This was such a fun and easy project! It took about 15 minutes total to do. The girls are in the process of picking out fabric and ribbon so they can each have one in their own rooms. I’ll be sure to share a photo of them on Instagram when they finish theirs.
Have you ever made something instead of just buying it?
Let me know if you decide to make one for yourself!
xoxo
–k
make your own elastic hair ties
Kristina Grum is a Certified Parent Educator who has over a decade of experience working with children, including being a classroom teacher. She currently teaches parenting classes in her local area and writes about shifting parenthood from barely surviving to thriving.
