I thought I’d write up a tutorial this Tuesday. When I first started sewing, I had a really hard time finding easy projects to do. It was very frustrating because I wanted to sew but didn’t know how to make anything. So here’s a super easy tutorial. If you have any questions, please shoot me a message!
A friend of mine mentioned she wanted to try to make a pilowcase for her boys (hi Jillian!) and it got me thinking… Kate’s favorite pillow case is a pink flannel one. It’s old and super soft. Actually, it was my favorite pillow case before she stole it from me. Anyway, I went to Joann’s one day and because I was there alone, which rarely happens, I was able to spend some time looking at fabric. I ended up in the flannel section and saw an adorable bumble bee print in a snuggly flannel. Sold!
When I got to the counter, I had no idea how much I needed. I knew I had better make one for both Kate and Caroline Grace or they might fight over it. I had to guess how much material I needed. Thank goodness I guessed correctly!
I made the pillowcases on Sunday morning and the girls were so excited, I had to wash them before nap time. Sunday morning laundry = yuck! That doesn’t usually fit in with my mandatory relaxing Sunday. But, of course, I did it.
Here’s my tutorial on how to make a pillowcase for a standard pillow.
Materials:
1 yard of snuggly flannel
Scissors
Rotary cutter
Cutting mat
Cutting ruler
Thread

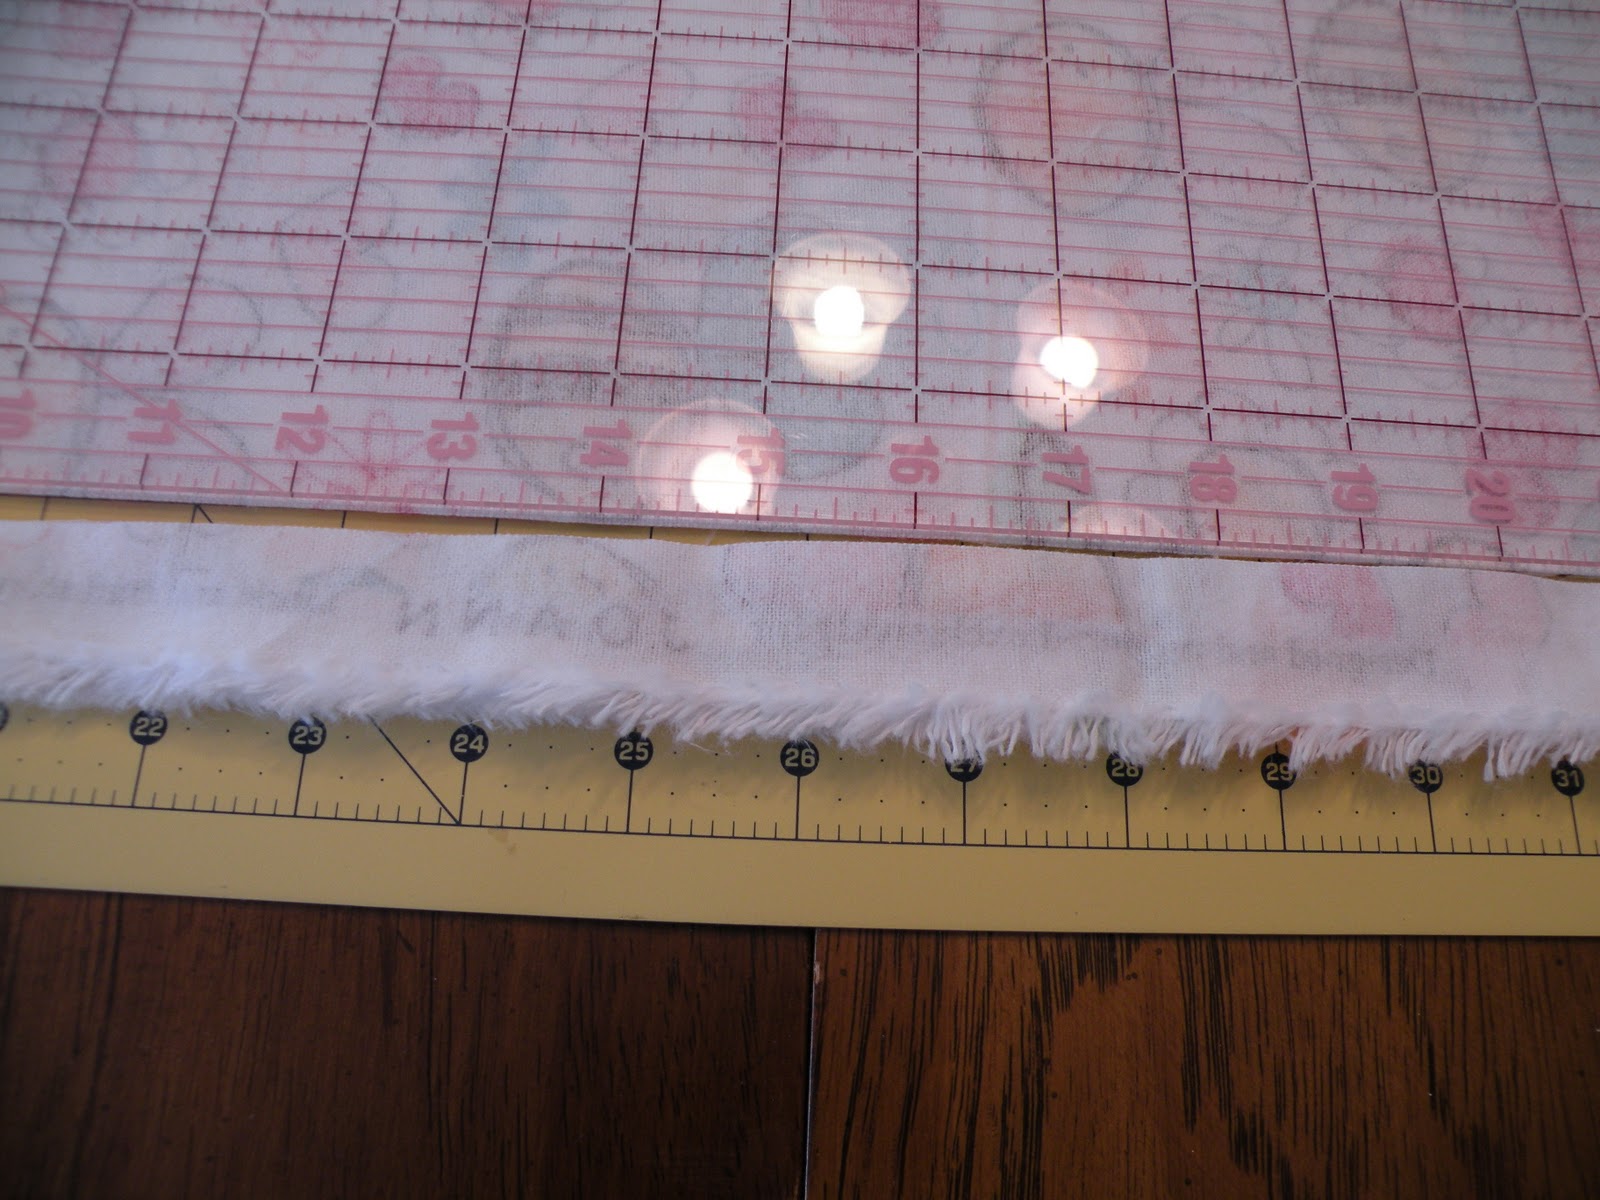
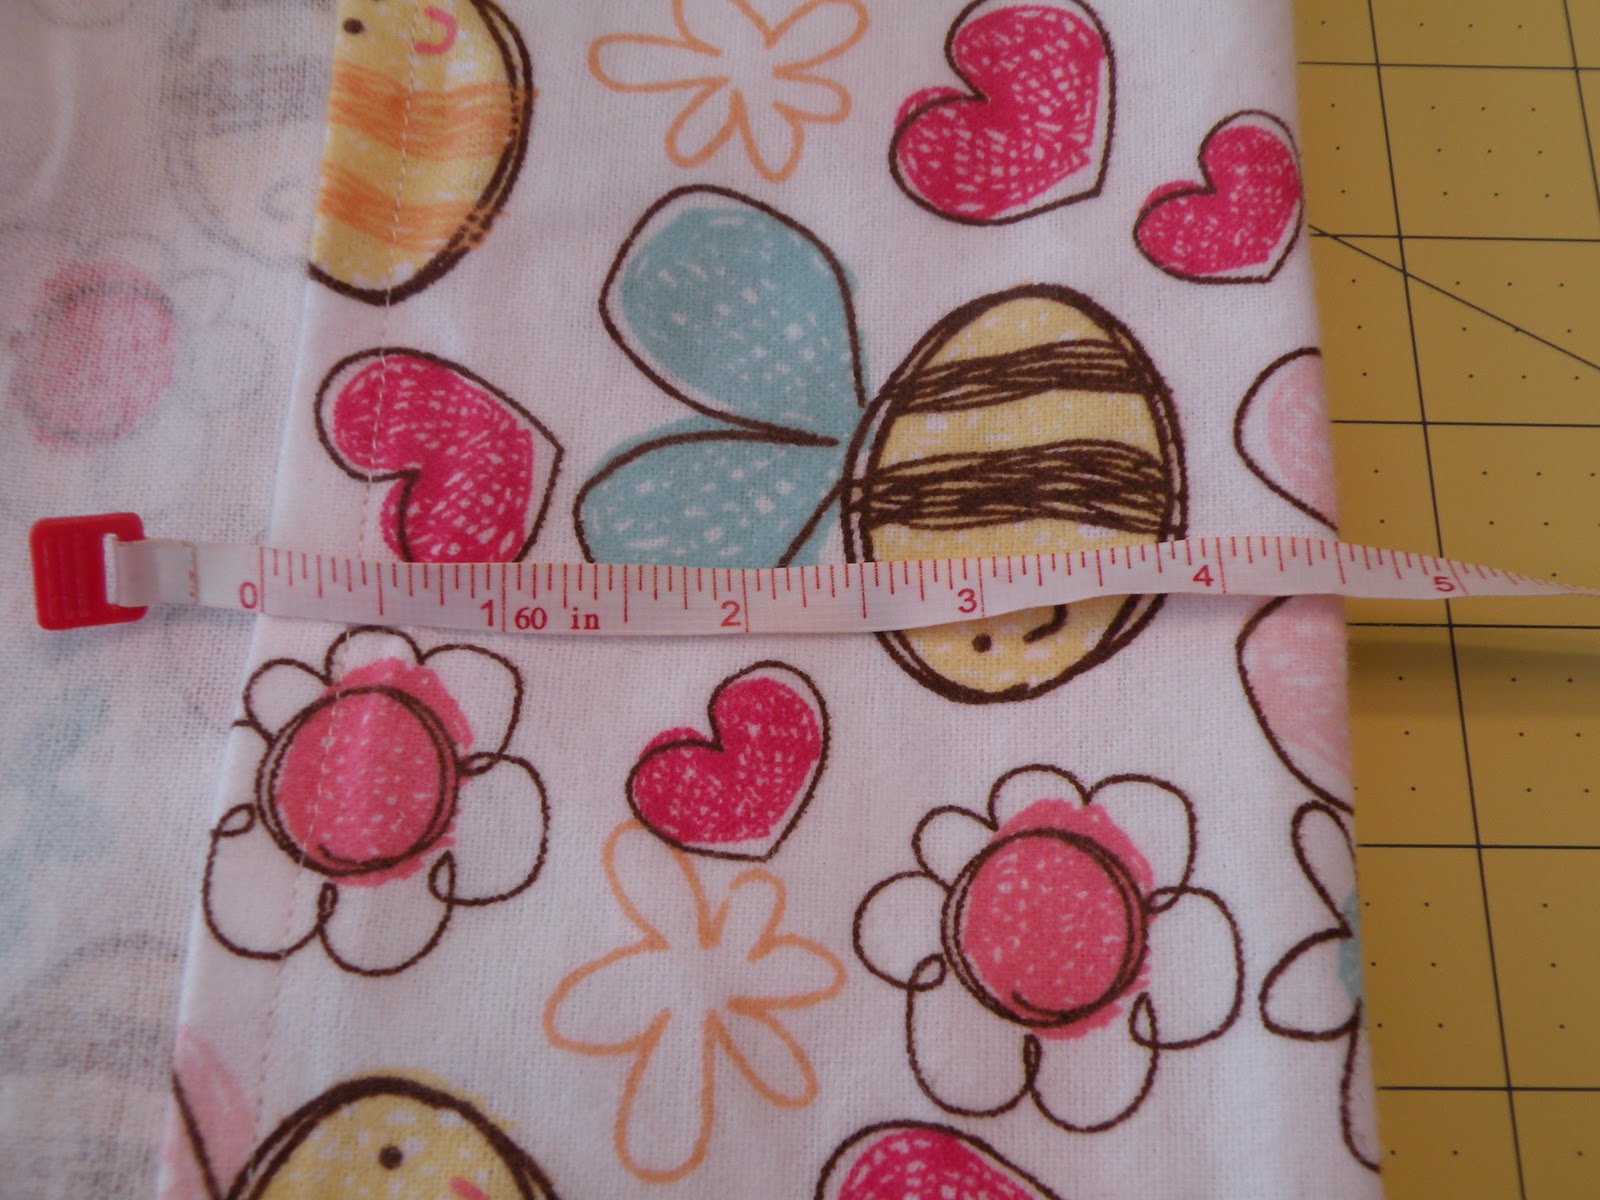
I always lay my fabric out before I cut it. I purchased 2 yards so I had to cut it into 2 pieces of 1 yard each. When I lay my fabric out, I always fold the selvage end to the selvage end. The selvage end is the finished end of the fabric. So when the fabric is cut for you, it’s not the side that gets cut. Often it has writing on the selvage end (brand, manufacturer, designer, etc) and/ or a white border. So fold it selvage to selvage and lay it on the cutting mat, matching up the ends. You are going to need to cut some material off of the selvage end. Most fabric comes in a width of 48″. You are going to need to cut it down to 40″.
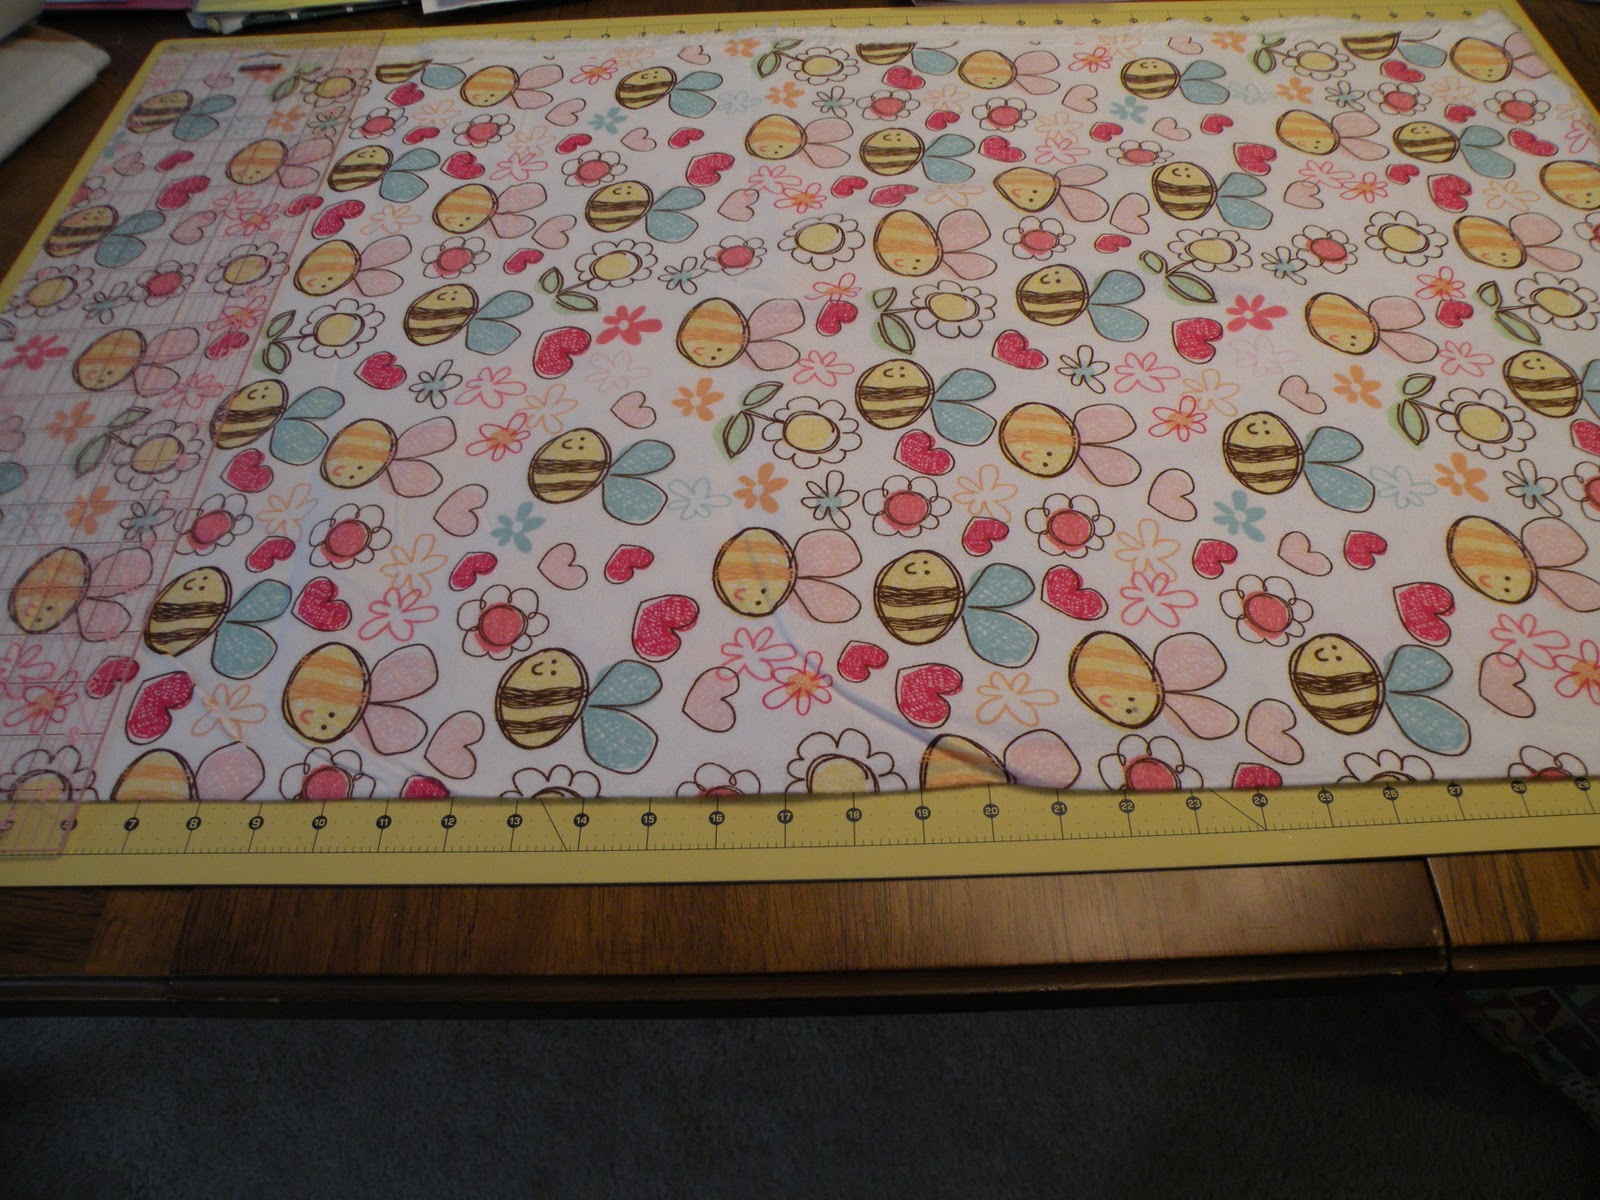
When I have my fabric laid out like in the picture above (selvage ends are both at the bottom of the picture, raw edges – cut edge – is at the left and right, and the top of the picture has the fold of the fabric), I fold the raw edges together (left and right). Then take a cutting ruler and cut enough off of the selvage end to give you 40″.
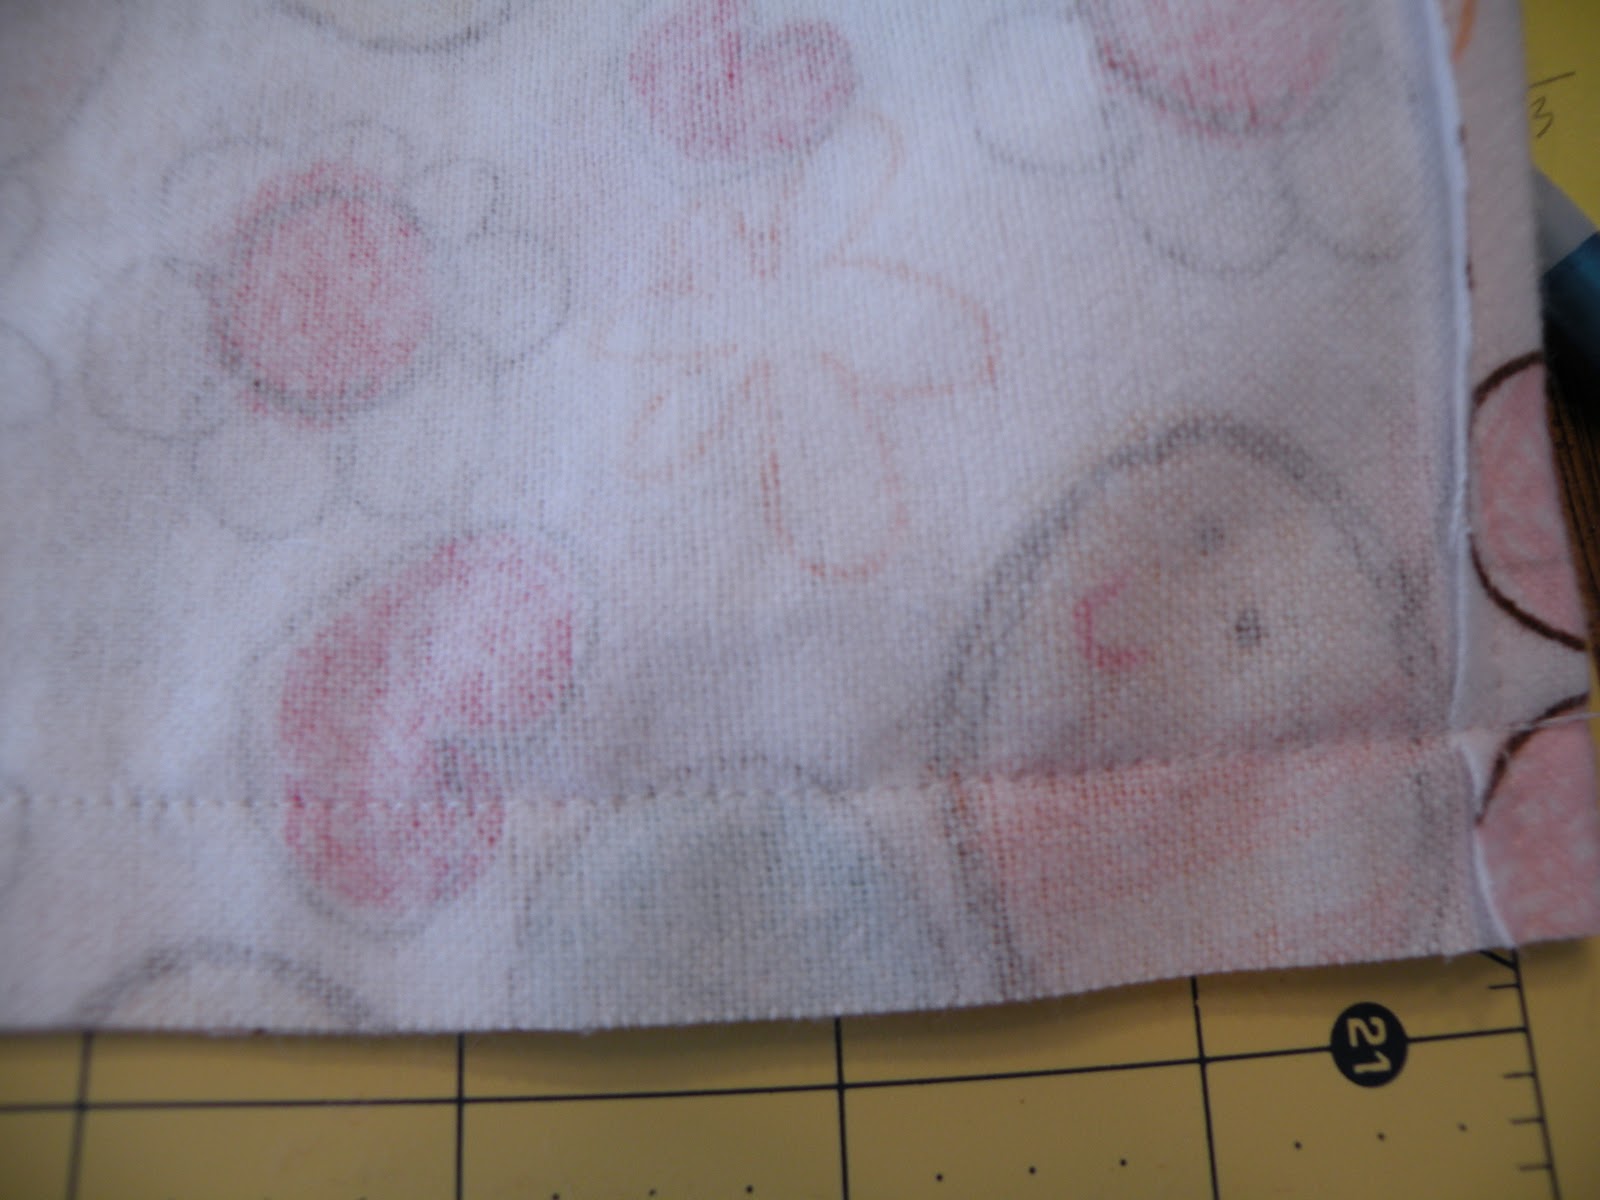
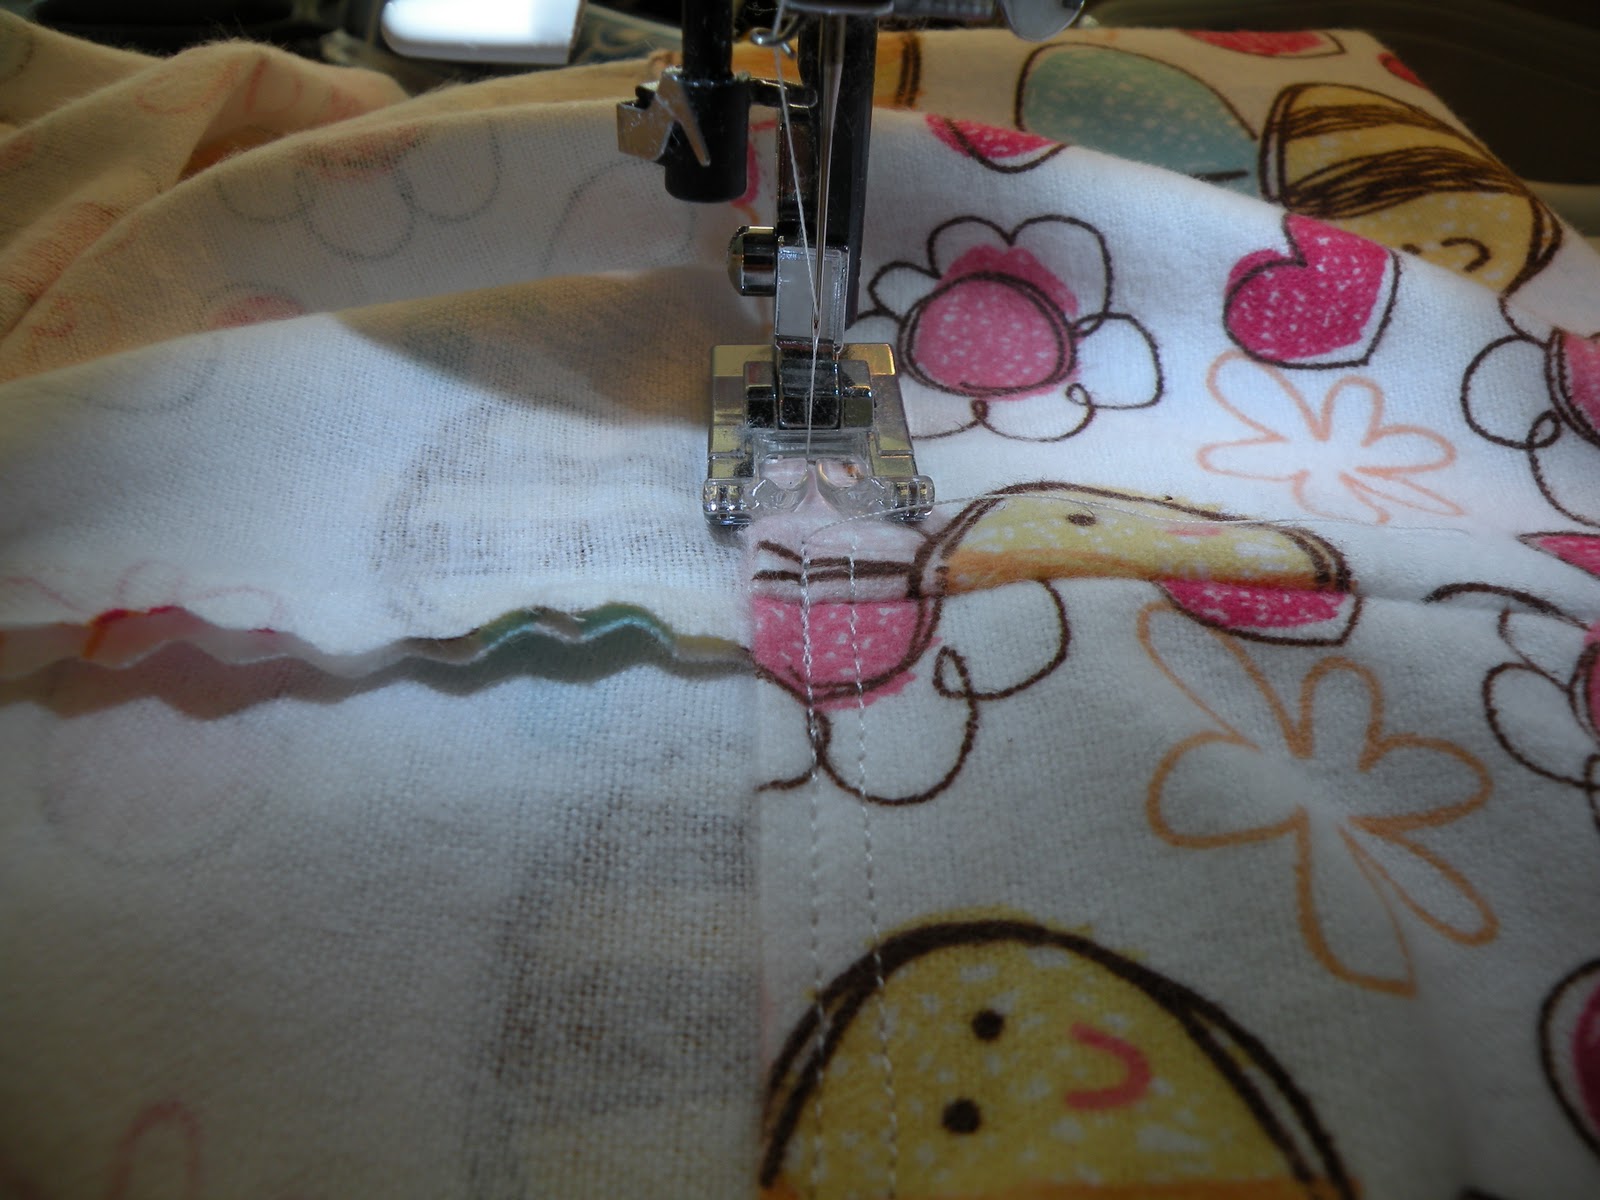
Keeping your fabric wrong side out, match up the corners of the side you just hemmed so that it looks like a pillow case. Start at the hemmed edge and work down the side and pivot to stitch the bottom. You should have 2 sides that are sewn together, 1 side that is a folded edge, and 1 side that is open.
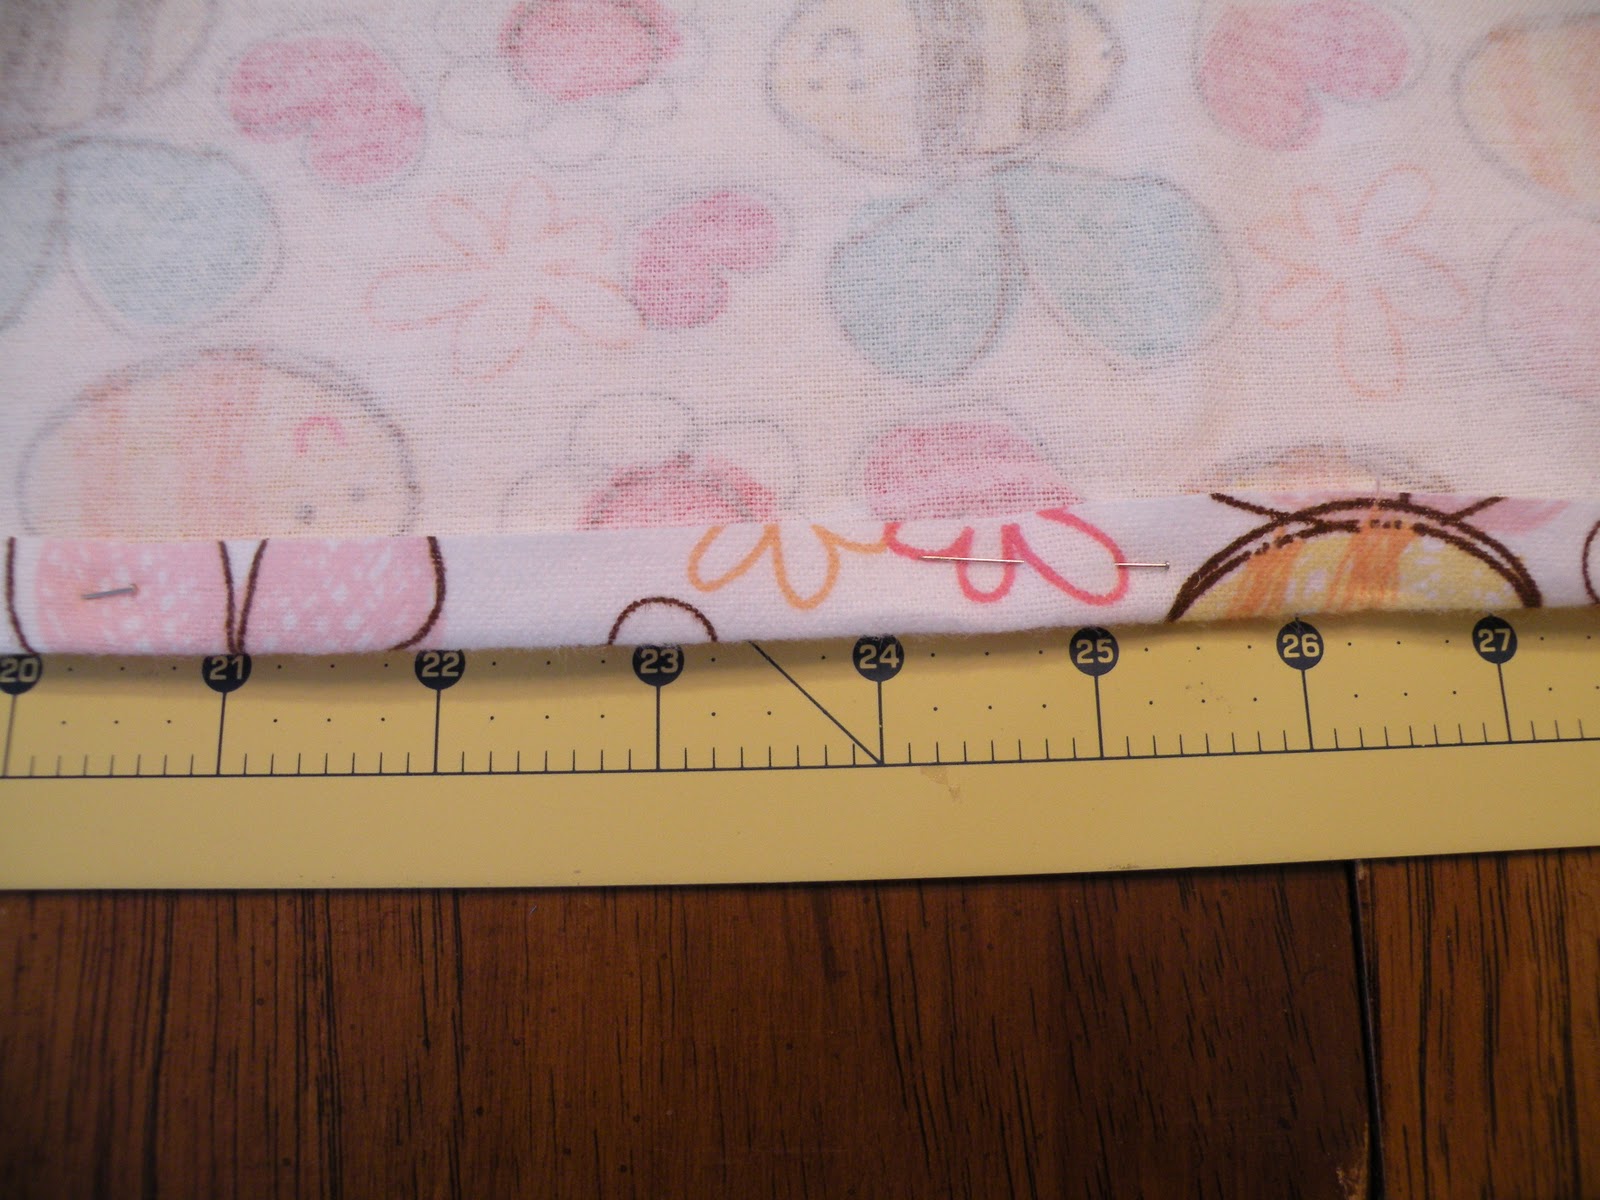
Fold the hemmed edge down 4″. Pin to keep it in place and then stitch it down.
I stitched it right on top of the stitch for the hem. I also start at the seam and work my way around so I end at the seam.
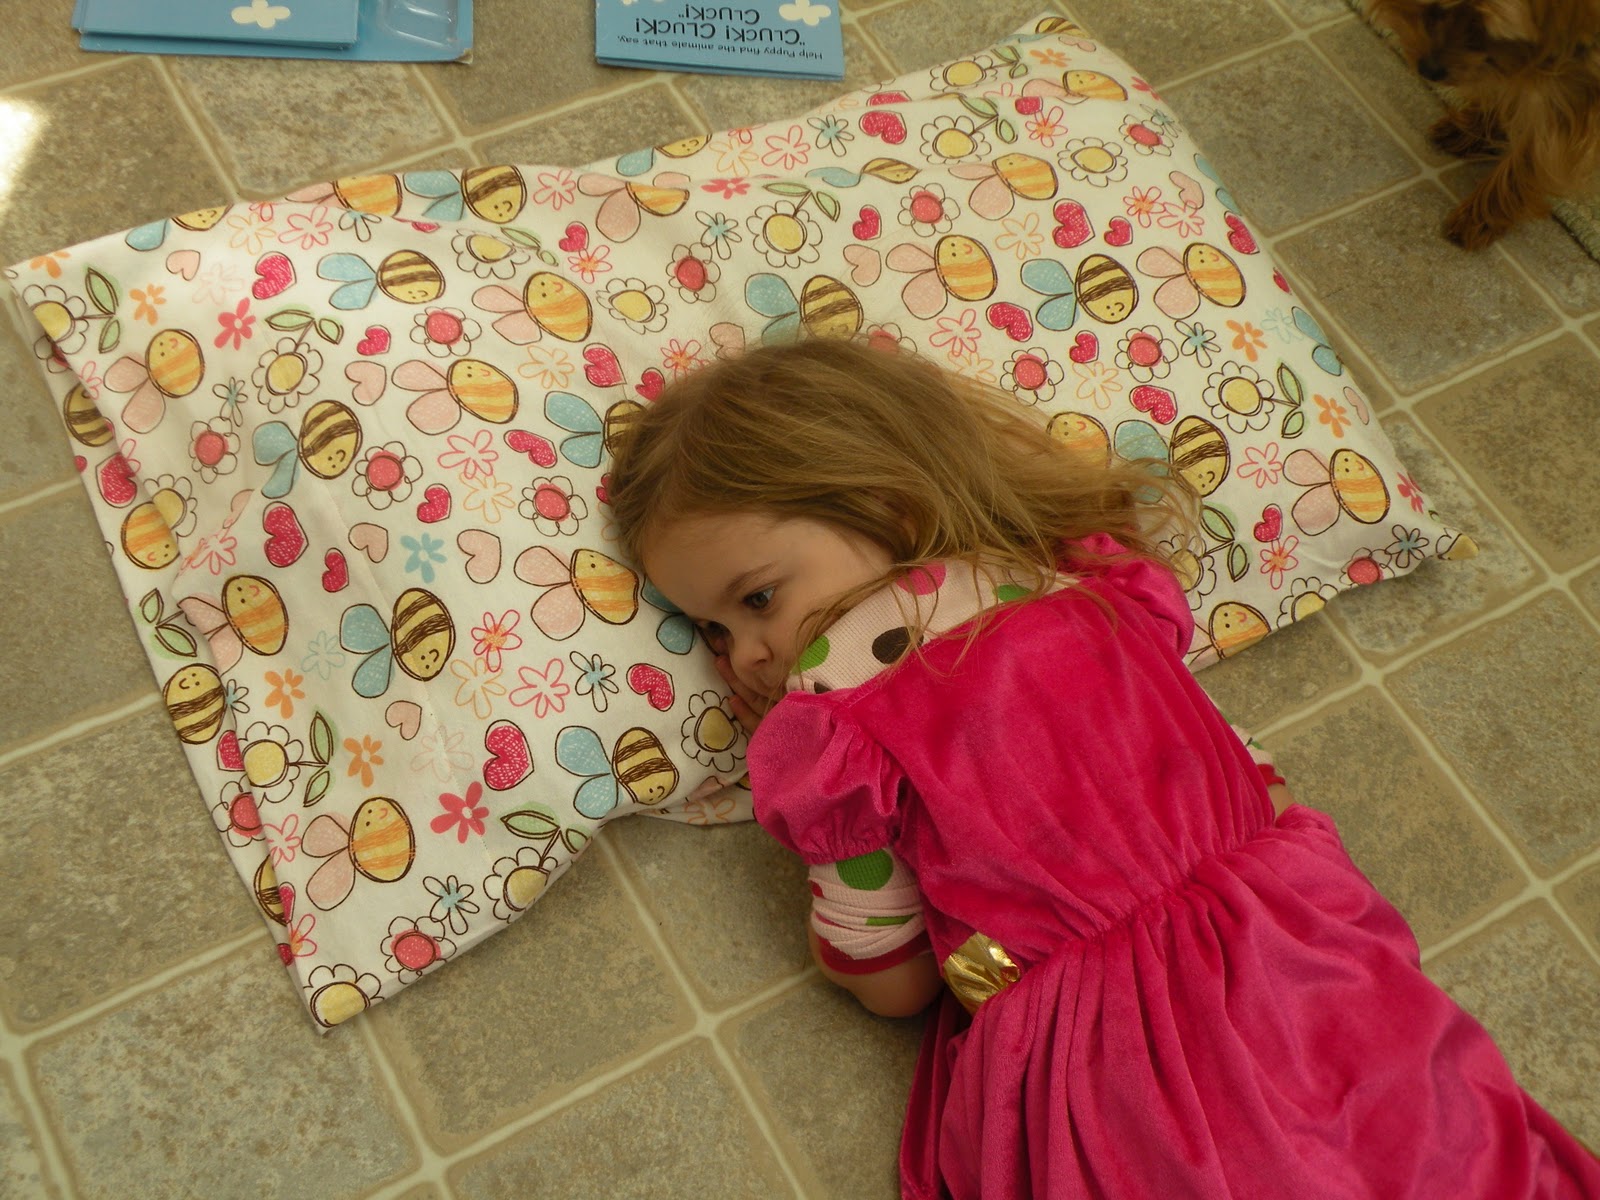
Here’s my finished product! Kate promptly took it from me and tossed it on the foyer floor. I thought it was so I could get a picture of it.

Turns out she was thinking more of herself! (I washed it before they actually used it so don’t be alarmed!)


Super cute fabric and great tutorial. I am going to make a few flannel pillow cases for guests. fun fun fun 🙂
Thanks, E! They are super easy and you can pick such fun fabric.