One of the most popular questions I am asked, that’s not directly parenting/ behavior related, is
HOW DO YOU HANDLE ALL THE PAPER THAT COMES HOME FROM SCHOOL?
Seriously, there can be a lot of paper that comes home: notes, newsletters, order forms, projects, assignments, and announcements. All that paper adds up and it can be overwhelming. I don’t have a system for all the random papers but we do have a really great system for organizing art projects that come home.
Katherine started a preschool program once a week when she was 2.5 years old. I remember how excited she was on the first day when she brought home her very own artwork. Just about every day afterward she brought home a project. I loved that her teachers let her do the work all by herself. Her artwork always reflected exactly what she was capable of.
The artwork, however, started to pile up. I’d hang it on the refrigerator until the refrigerator was covered but I didn’t know what to do with it afterwards. I ended up making a pile of projects in the office. Months later Matt put them all in a huge box. At this time, we only had 1 child who was doing all of the creating. I had no idea what I would do when we had 3!
Before I knew it the box was full. I tried to think of ways to keep and organize all of the work that came home from school but by this time, Caroline had started the 2 year old program and Katherine was in the 3 year old class.
Here are a few ways I managed all the art projects that came home from school:
1. I bought poster board, had it laminated, and stapled 2 sheets together on 3 sides. This allowed it to act as a large portfolio folder with one side having an opening. It was similar in look/ style to this kid one and this more generic one. Each large folder contained a different season of work, with an extra folder for holidays that generated more work. I didn’t separate it by child. Then when we approached a new season, I took that folder and hung their old artwork around the house on walls, doors, and windows around the house. They loved seeing it displayed and remembered working on some of the older projects.
Why this works:
It keeps everything in a centralized place and sorts it by category.
Why this may not work:
When the artwork is displayed for a whole season, the tape that holds it to the windows can begin to get stuck to the windows and leave tape marks (ours required a razor blade to remove it all). You could try a removable mounting putty. You can also get tired of having to remember what to put up and take down, seeing the same projects, and having your walls covered with kid projects.
2. I took photos of each project and uploaded them to Shutterfly via their free app. I intended to make it into a Shutterfly photo book. Their books are excellent quality and very customizable. Besides the fact that they’re easy to use – you just drag and drop the photos where you want them.
Why this works:
Kids will have a record of every project they make (or every project you photograph). It’s a way to keep odd shape projects or 3 dimensional ones. It’s also a great keepsake for them to look through over and over. I think our kids would love to have this to reflect back on.
Why this may not work:
You have to make sure you photograph every project that comes home before it gets “played” with or displayed. It can be hard to remember to do it consistently if you have more than 1 child (or even if you have 1 child!).
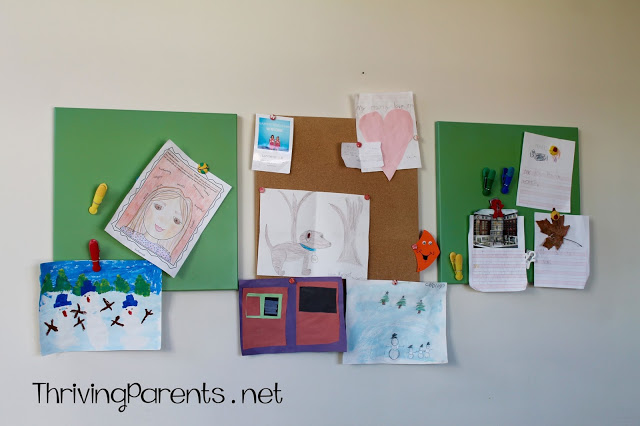
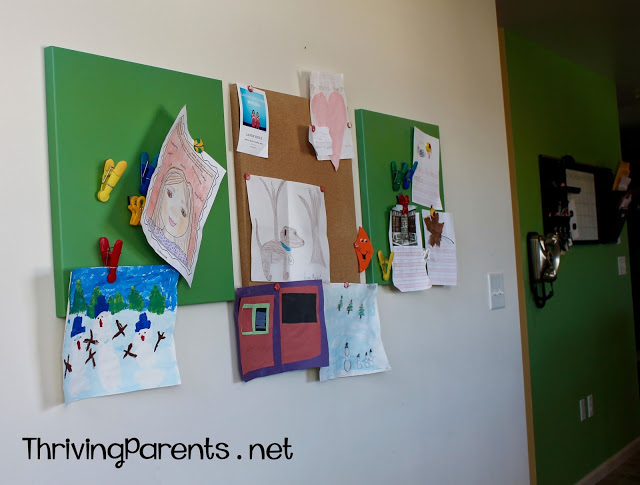
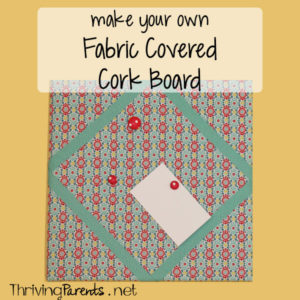
3. I displayed the art work in our house. I hung up 2 magnetic boards and 1 cork board in our kitchen. Each child was assigned a board to hang their items on. We always assign things in birth order so Katherine’s was on the left, Caroline’s was in the middle, and Rebecca’s was on the right. Each board had a certain amount of magnets or pushpins and was able to hold only that many papers on it. Each week when they bring their work home, they get to decide what goes up and what comes down. Our boards are from Pottery Barn Teen but there are some really cute ones on Amazon, as well. I love this magnetic square bulletin board, big dot cork board, and especially this fun flower cork board. You can also make your own fabric covered cork board.
Why this works:
It puts the kids in charge of deciding which work is the most meaningful for them. It also allows them to visually see their work at all times since these boards are hung in a high traffic area in our house (the kitchen!).
Why this may not work:
It may be hard for the kids to get rid of old work or they may have a hard time deciding what to pick.
4. Display the artwork in the kids’ rooms or playroom. We love these display wires from Ikea. They’re actually for shower curtains but they make the most amazing display on the walls of a bedroom or a playroom. You can also use a fabric covered cork board. This is a small one but sometimes smaller is better when it comes to displaying artwork since it’s easy for the kids to get carried away.
Why this works:
This keeps the artwork in the kids’ rooms or playroom. They love seeing it and having it displayed where they can see it all the time.
Why this may not work:
Smaller kids may try to “play” with the artwork instead of leaving it hung. This could be hazardous if their artwork is hung with pushpins.
5. Here’s a bonus 5th way: I love these artwork frames that allow you to open up the glass cover and change out their artwork whenever you (or your child) wants. I fell in love with these before we had kids and wanted to buy them for my sister in law.
Why this works:
By displaying their artwork in an official frame, the same type that you display your most precious family photos, your child will feel like they and their artwork is important to you. You’ll see their pride swell.
Why this may not work:
It doesn’t allow for a lot of display space. It only holds one piece of artwork at a time.
Hopefully one of these methods will help you organize your art work. What’s been working for you so far?
xoxo
–k
Click here to read how to teach your child to part with their artwork
Pin to save this for later!
